A website with style
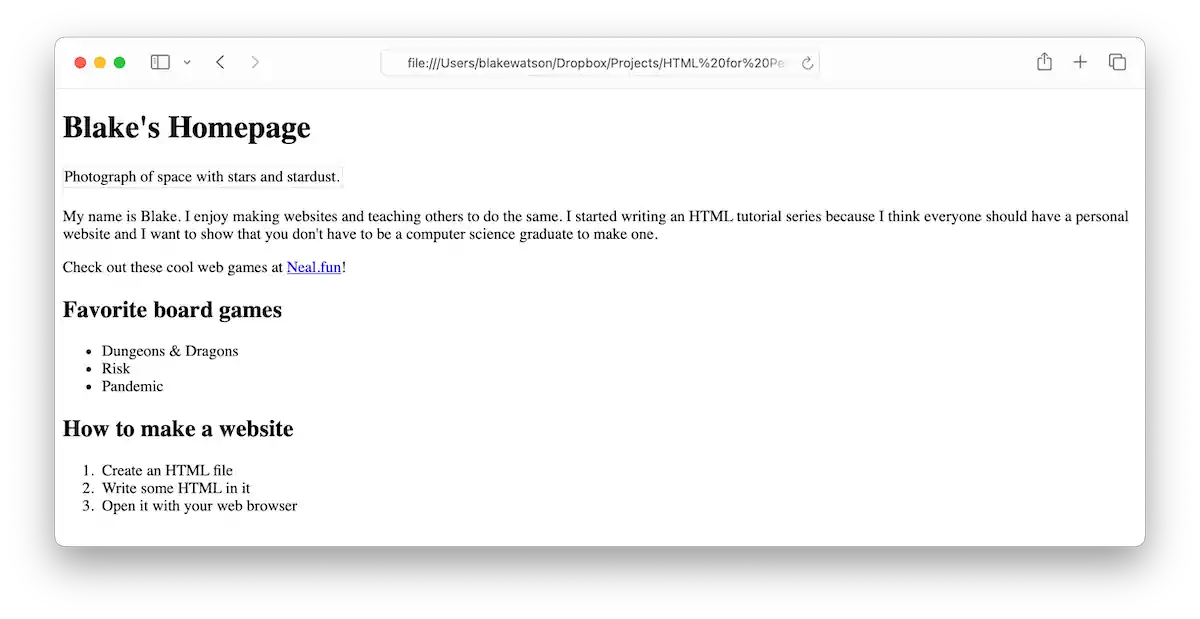
I think our website is nice. Its quiet simplicity is welcoming in a world full of distractions. However, it does look very plain and un-styled.
We’re seeing the browser’s default styles—how it displays text and images without further instructions on how they should look. But most websites you visit don’t look this way. They have been designed to look differently. Their designers have given instructions for what fonts to use, what colors, and what page layout.
In the land of HTML, we are only concerned with what things are—this thing is a heading, this other thing is a paragraph, here is an image, and so on. To define how things look the browser uses HTML’s sibling language, Cascading Style Sheets, or CSS.
One way to include CSS is by using the <style> tag and putting CSS code directly into it. For example, consider the following:
<style>
  body {
    font-family: 'Gill Sans', sans-serif;
  }
</style>
If you included this code somewhere on your webpage, it would change the font of the <body> tag—in effect, all of the visible text on the page. This CSS ruleset says, “Set the body font to Gill Sans or, if that font isn’t available, set it to whatever your default sans-serif font is.”
That’s a totally valid way to use CSS. But you will often find people putting their style rules in a separate file. Something like styles.css. The main reason for doing that is that it makes it easier to share styles across multiple pages—it prevents you from copying and pasting your <style> tag around to each page you create.
CSS is a powerful language. Every website you see is using it. All of those intricate designs, much of the animation, and the positioning of images and typography—that’s CSS.
However, there is also a learning curve to CSS. And while I totally encourage you to explore CSS, this book is HTML for People—I want to keep the focus on HTML. But that’s okay! We can still use CSS to make our website look nice without writing everything ourselves.
CSS frameworks
Even professional web developers who know CSS will use pre-written CSS as a starting point. We will do something similar. Some CSS frameworks are made for web developers—they include a lot of bells and whistles and require that you write your HTML code in a particular way. However, other frameworks are designed for simpler websites. They make your HTML look nice without you doing much extra work. They’re called classless CSS frameworks.
For our purposes, that’s perfect. We’ll use one called Simple.css. But here are some other ones you might want to look at. They’re similar in spirit but with different styles.
These will make your HTML look nice and give you a great starting point for a basic website. Get comfortable using stuff other people have made because there’s a lot of great stuff out there!
Simple.css
I encourage you to check out the Simple.css website, particularly the demo page, as it shows you how to use different HTML elements and what they look like with Simple. Let’s download Simple.css.
The Simple.css docs give us a few ways to get started, but for simplicity’s sake (see what I did there?), I’ll give you the URL to the CSS file:
https://cdn.simplecss.org/simple.css
Don’t be intimidated by all the code in there! You don’t need to understand it right now (or ever, really). Just hit File > Save Page As in your browser (Command-S on macOS and Control-S on Windows) and save this file in your website project folder where your index.html file is.
Alright, you’ve saved it, and we’ll add it to the page soon. But first, let’s do a little housekeeping.
Organizing our files
So far, we only have three files—our webpage, an image file, and the simple.css file we just downloaded. But we’ll add more files soon. Let’s create a couple of folders and move things around. We want our new file structure to look like this:
cssfoldersimple.css
imagesfolderspace.jpg
index.html
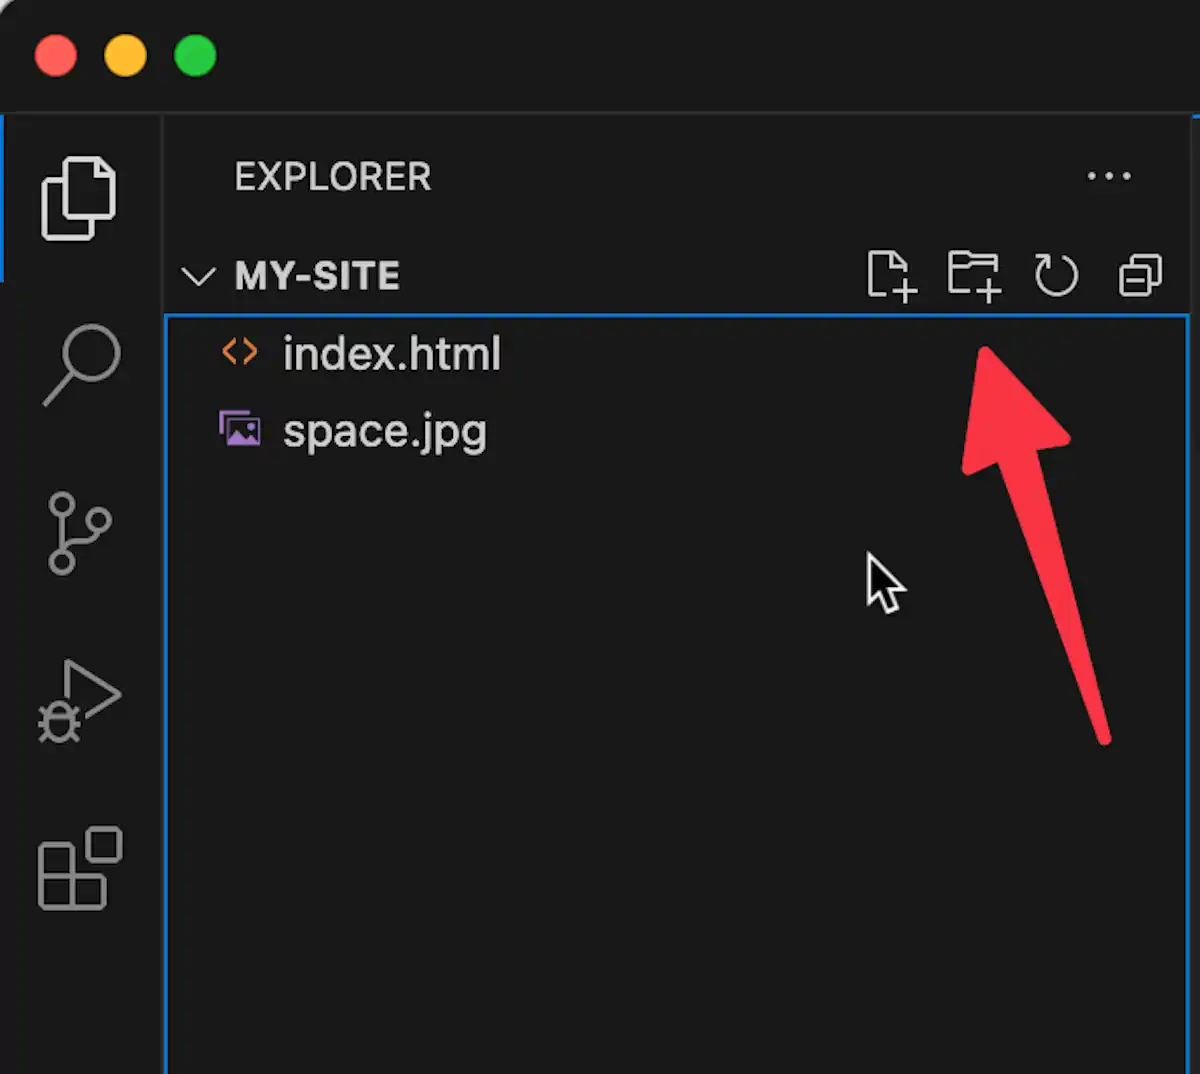
Nice and clean. Using Visual Studio Code, you can create files and folders directly in the sidebar. Hover your mouse over your files, and you’ll see these buttons.
Once you make the changes, if you reload the page in the browser, you will notice that our image no longer works. Notice how the browser falls back to showing the alt text we provided in place of the image.
This is because we moved the space.jpg image file relative to our homepage. It’s now located in a folder called images. We can fix this by updating the image’s src value. Add the folder name and a slash before the filename.
<img src="images/space.jpg" alt="Photograph of space with stars and stardust.">Adding Simple.css to the page
We can add a stylesheet to our page similarly to how we added the image. We’ll use a <link> tag to reference the CSS file. We’ll put it in our site’s <head> tag.
<head>
  <title>Blake's Homepage</title>
  <meta charset="utf-8">

  <link rel="stylesheet" href="css/simple.css">
</head>
The <link> tag is self-closing—there isn’t a closing tag. We need to give it two attributes. rel specifies the relationship the file we’re linking has with our webpage. CSS files are called stylesheets so we provide that as the relationship (singular). The href is where we specify the file, including the folder path.
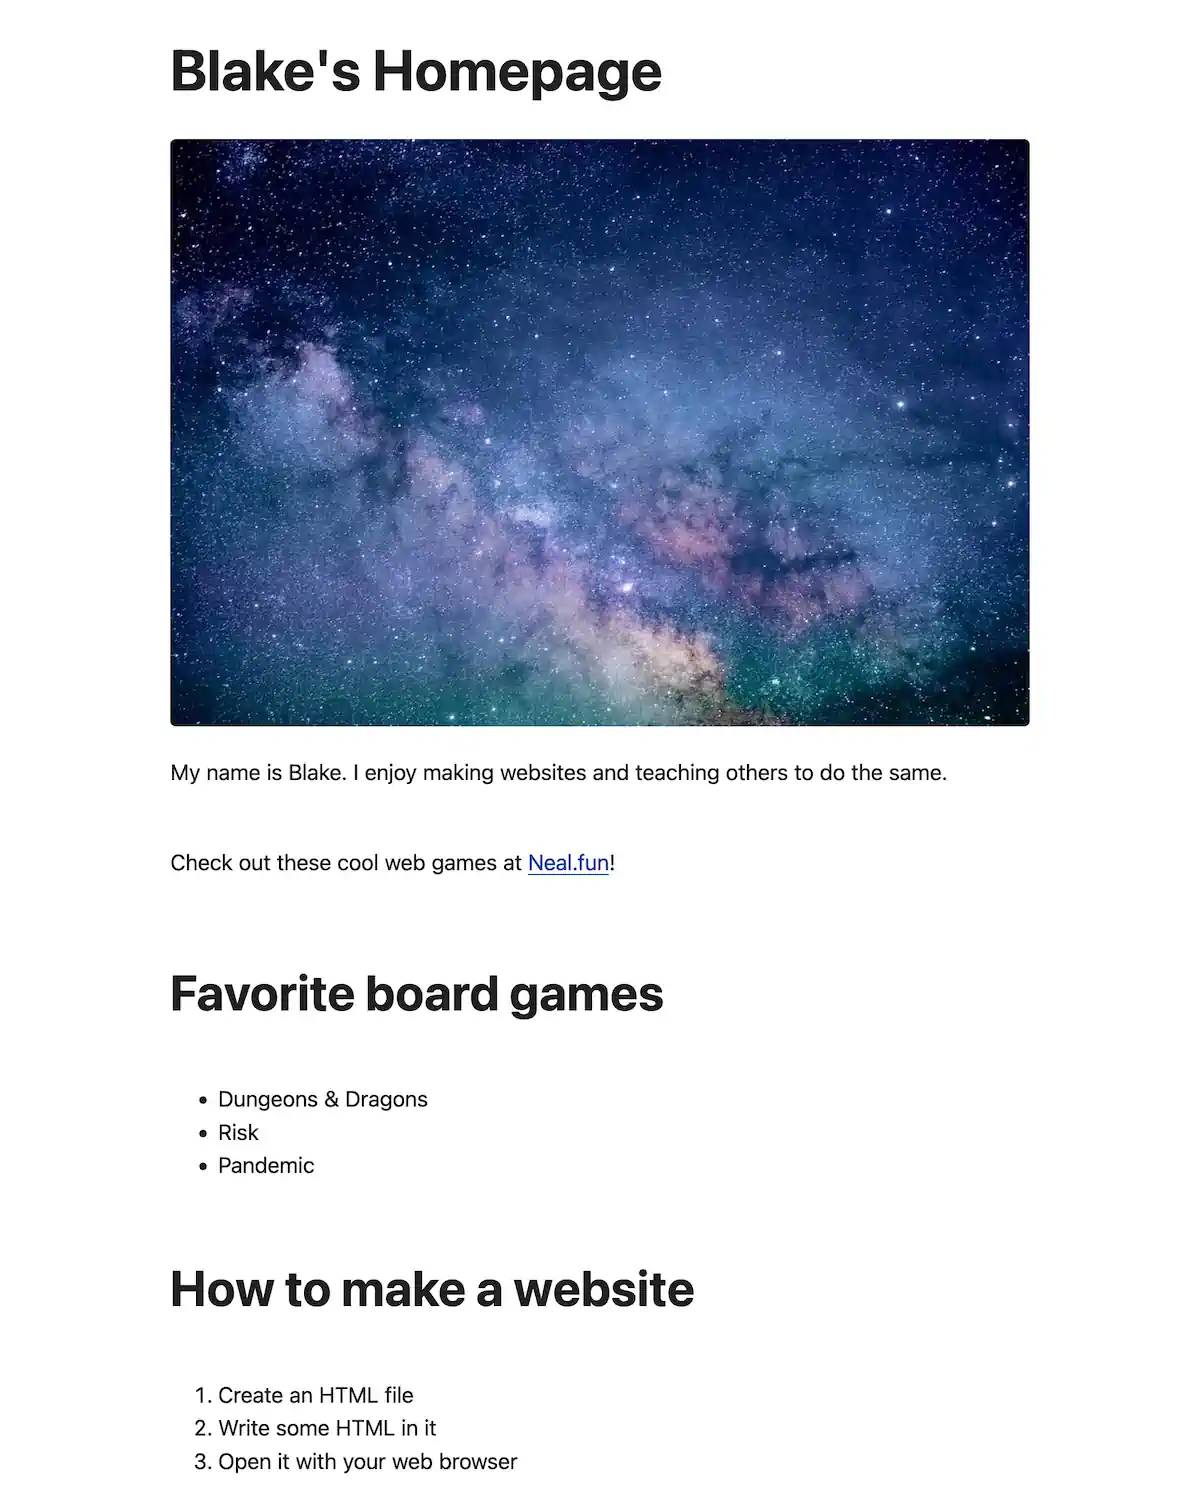
Just like that, our website transforms. We now see a centered page, larger text, and a sans-serif font.
Adding a header, footer, and main content
We can see that the Simple.css file took immediate effect. But things will look even better once we add some sections to our website that Simple.css expects—a <header> for the website’s title and <main> for the main content area. We didn’t use these earlier—they aren’t required—but using them is a best practice.
And this is totally optional, but we might as well add a <footer> too while we’re at it. Sometimes, people put copyright info here. Sometimes, people have large footers with lots of links to things. Sometimes, it’s just their name. I’ll keep it simple, but you can add what you want here.
So we’ll put our website’s name in a <header> tag and our main content in the <main> tag. Then, we’ll add a <footer> with a bit of info.
<body>
<header>
<h1>Blake's Homepage</h1>
</header>
<main>PAGE CONTENT GOES HERE</main>
<footer>
<p>Made with ❤️ and ☕️ by Blake Watson.</p>
</footer>
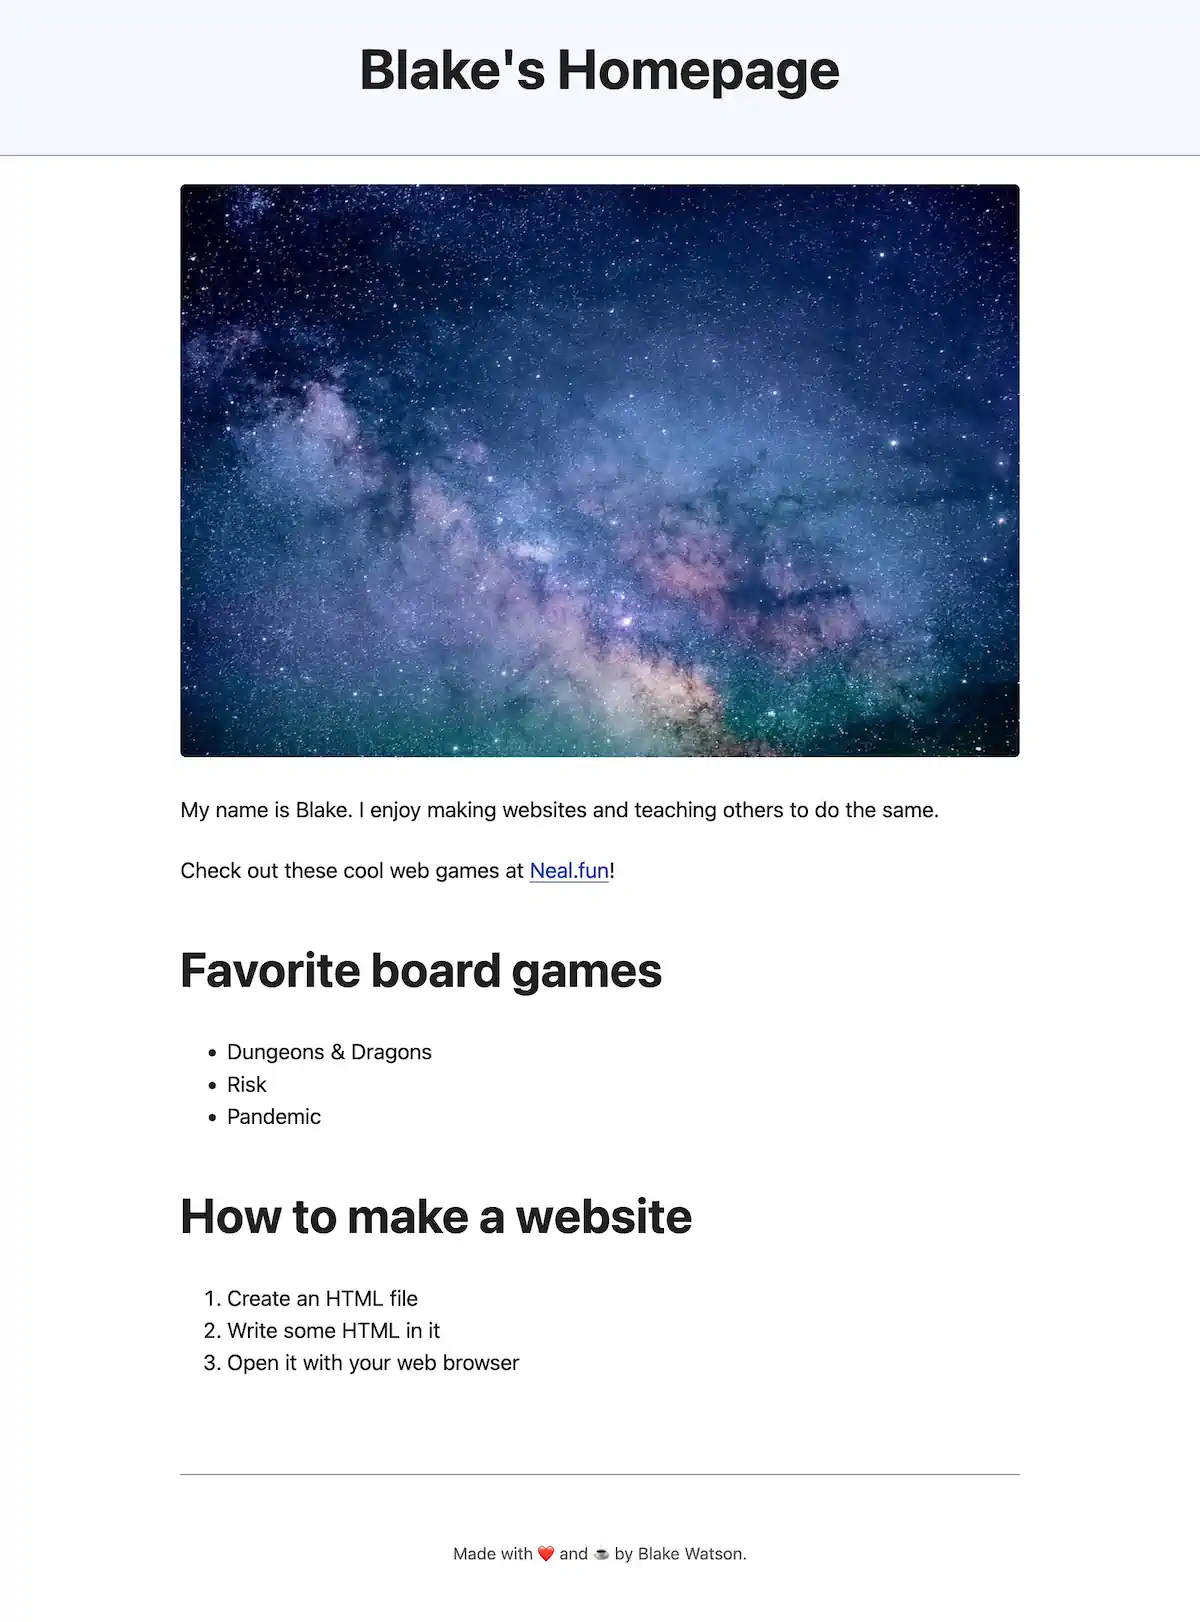
</body>After these adjustments, our website title has some special styling, and paragraphs and lists are spaced more appropriately.
Update the live site
Let’s put our new stuff online! In Neocities, you can’t upload folders using the upload button. You either need to create the folder in the dashboard by clicking "New Folder, " or you can drag the folder from your computer to the drop zone.
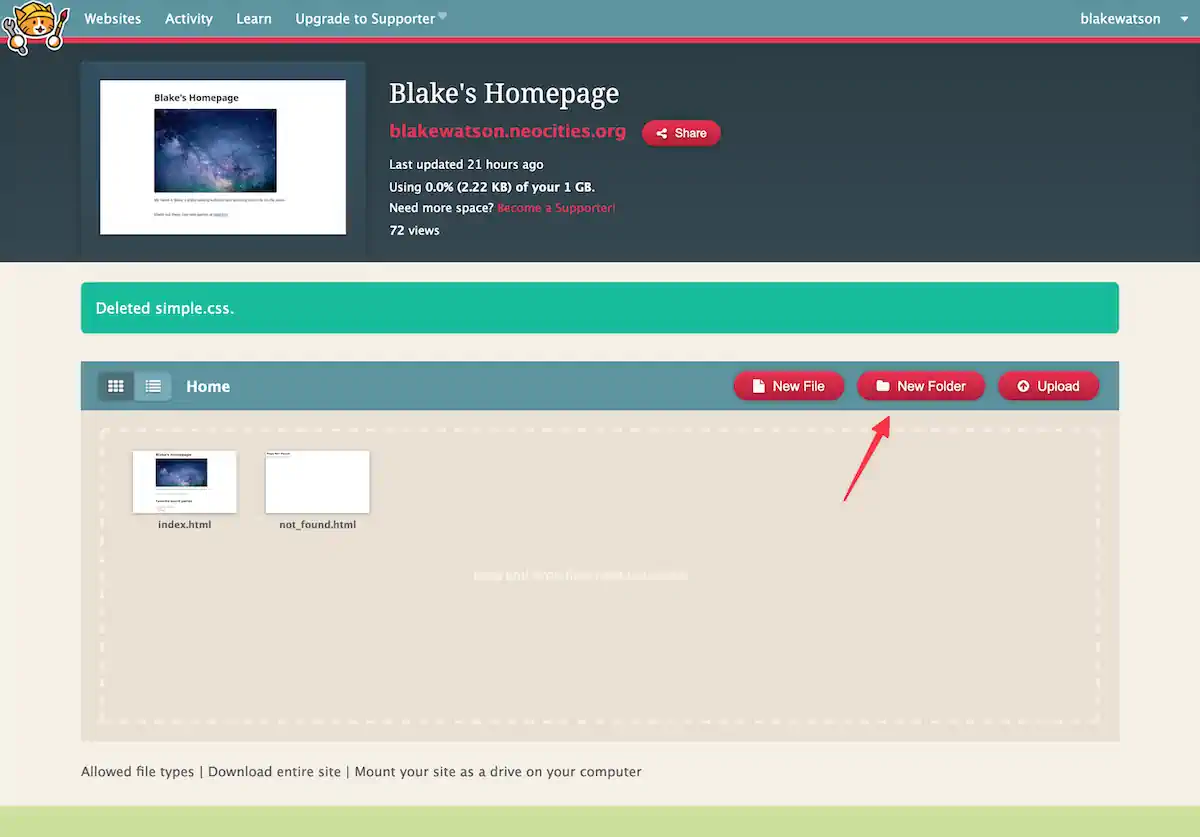
It’s probably easier to drag the folders over, but if you create them manually, you must open each folder and upload its contents. Once a folder is created, you can hover your mouse over it to see options. You’ll want to click “Manage” to open the folder. From there, you can click “Upload” to upload the appropriate files to that folder.
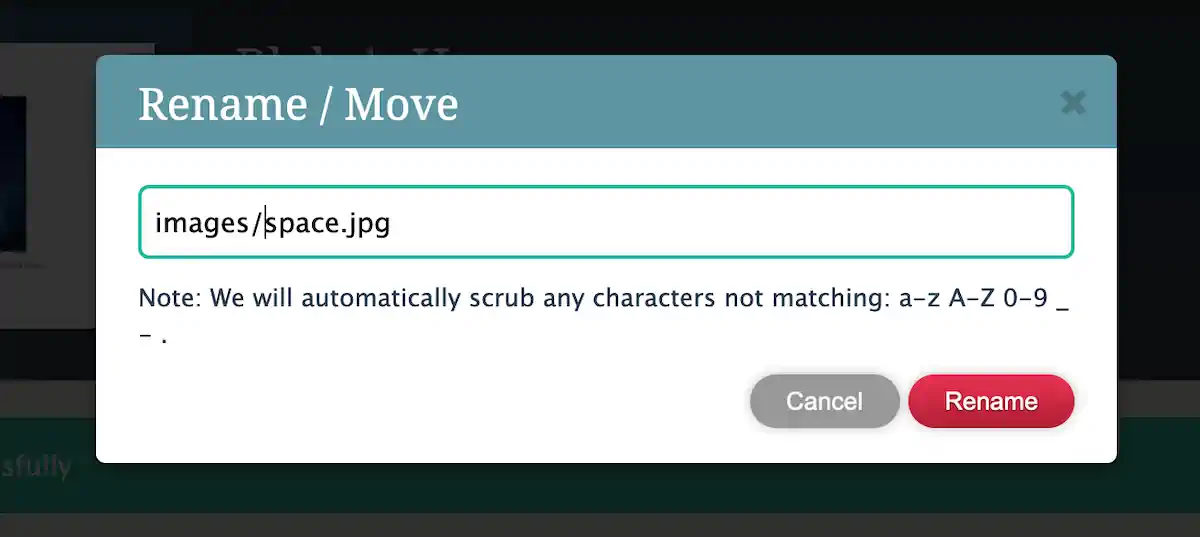
Move existing files by renaming them. For example, if I want to move space.jpg down into the images folder, I can click “Rename” and include the folder in the path: images/space.jpg.
It’s cumbersome but not too bad. Whichever way you do it, ensure the files in Neocities match what you have on your computer.
Up next
We only added a little in terms of writing code in this chapter, but we set ourselves up for success by getting organized, acquiring some styles, and sectioning our webpage.
The rest of this web book will focus on building our website. In the next chapter, we’ll add an About page.