Adding a blog
Blogs are a huge part of the web. You’ve likely heard of several popular blogging platforms like WordPress, Tumblr, and Blogger. And there are tons of smaller indie blogging platforms.
But you don’t need one of these platforms to have a blog. A blog is just a series of posts in chronological order (typically reverse chronological with the newest posts first). We can totally do that with HTML!
I’ll add three blog posts. I won’t put all the code here in this chapter since that would be a bit wordy. You can check out the demo site to see the completed articles. But I will show you how to structure the files and review some of the different HTML tags we can use.
Create the blog home
Follow these steps to make the blog available at sitename.neocities.org/blog.
- Create a folder called
blog; inside it, create a file calledindex.html. - Copy the contents of one of your other pages and paste it into this new, empty
index.htmlfile. - Change the
<h1>to “Blog,” “My Blog,” or whatever you’d like to name it. - Change the
<title>to change what appears on the tab. For instance, “Blog - Blake’s Homepage.” - Clear out the main content so you have an empty
<main>tag. We’ll add content later.
Let’s open it in the browser and see how it looks.
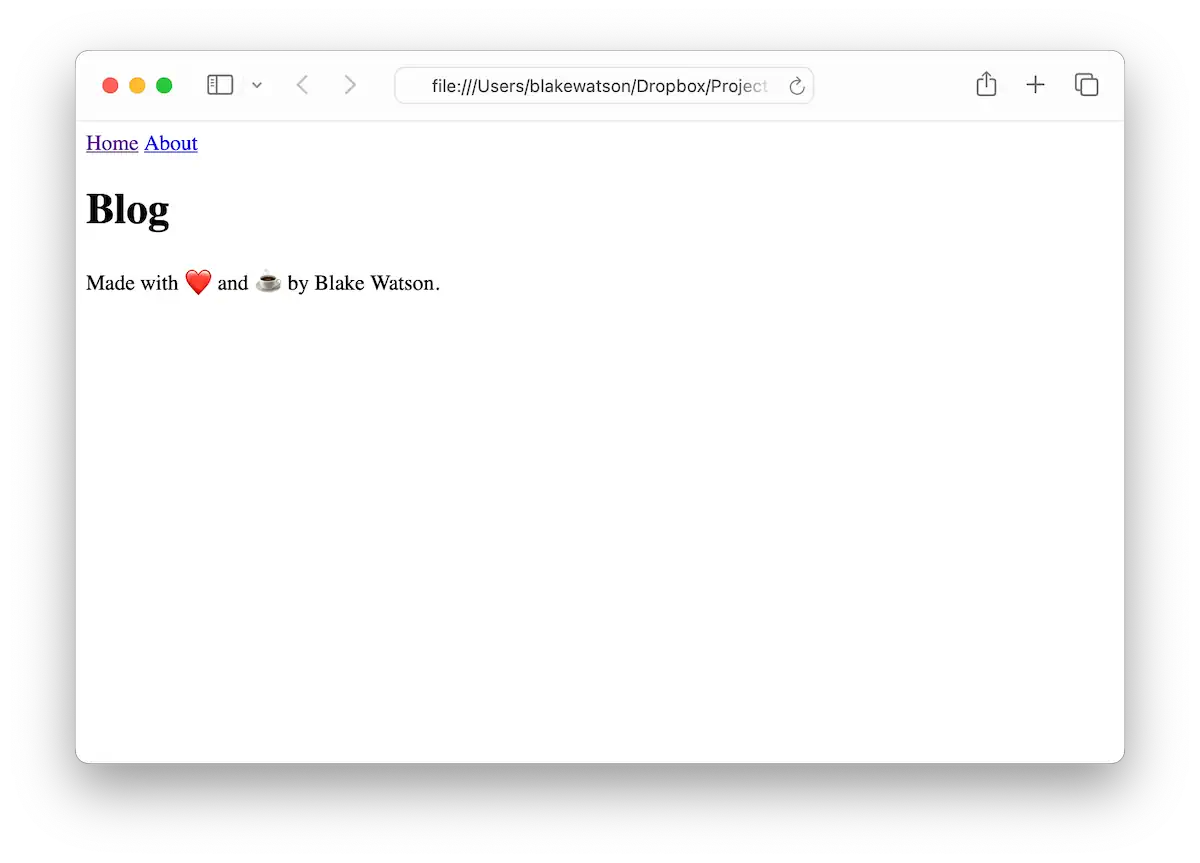
Whoa, we broke it; what happened!? It has to do with the file structure. Look at our <link> tag, where we added our Simple.css styles.
<link rel="stylesheet" href="css/simple.css">It’s looking for css/simple.css but can’t find it. Why? The path we gave it is relative to the current file. The current file is in the blog folder, so it looks for blog/css/simple.css, which doesn’t exist.
So, how do we refer to files that aren’t in the current folder? We can use the .. syntax like this.
<link rel="stylesheet" href="../css/simple.css">That means “move up one level, then look for css/simple.css.”
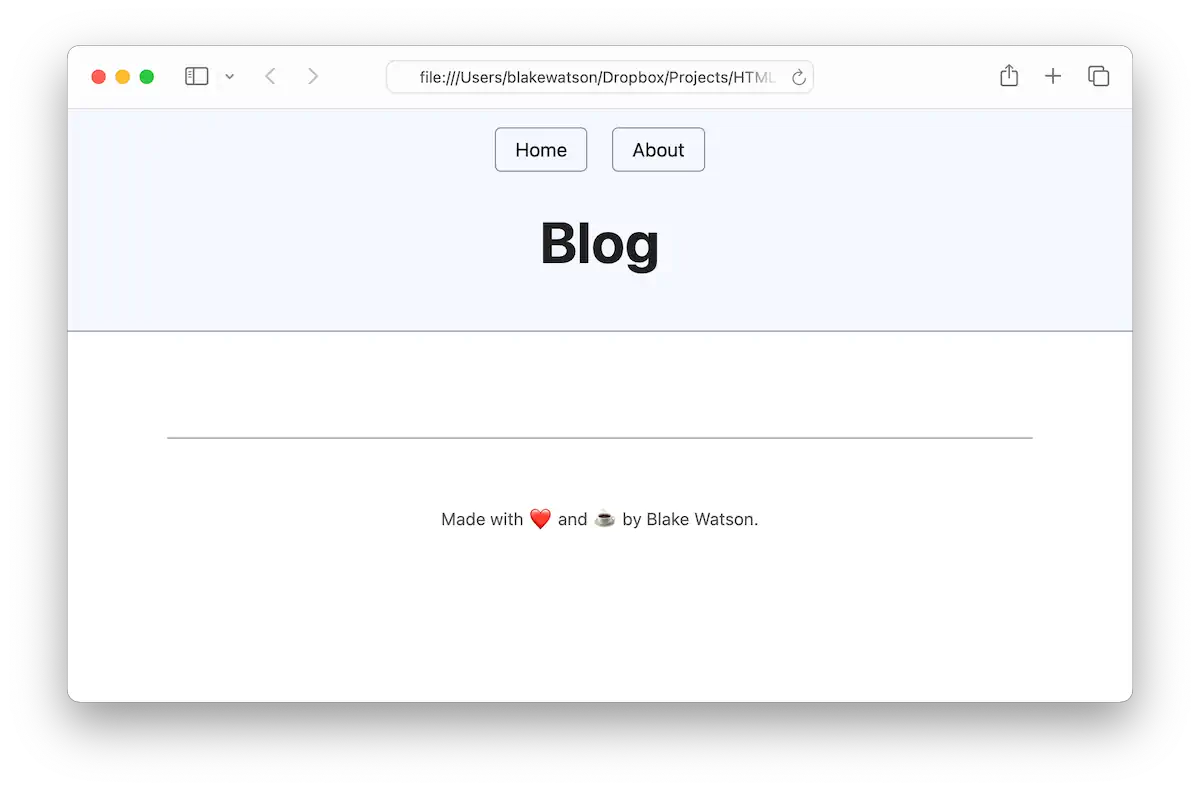
That’s better! Now, let’s update the navigation. Since the home page and the About page aren’t in the current folder, we’ll need to use the same .. syntax to link to them.
<nav>
  <a href="../index.html">Home</a>
  <a href="index.html" aria-current="page">Blog</a>
  <a href="../about.html">About</a>
</nav>
You’ll also need to update the navigation on the other pages to include a link to the blog. For example, the homepage nav should look like this.
<nav>
  <a href="index.html" aria-current="page">Home</a>
  <a href="blog/index.html">Blog</a>
  <a href="about.html">About</a>
</nav>Create the first post
I’m going to write a silly post about teaching a cat HTML. I’ll create a 2024-04-12-whiskers.html file in the blog folder. You can name your blog post file whatever you want. The nice thing about including the date is that, as you create more posts, they’ll appear in order on your computer’s filesystem.
As a starting point, we’ll copy the contents of blog/index.html into our new file. I’ll change the <h1> (and the <title>) to be the name of my article, “How I taught my cat to make a website with HTML.” I will also modify the navigation. We aren’t on the Blog listing page, so it’s inaccurate to say aria-current="page" on the blog nav link. But it is within the Blog section of the site. So I will change the attribute to the more general aria-current="true". This is only for individual blog post pages.
<nav>
  <a href="../index.html">Home</a>
  <a href="index.html" aria-current="true">Blog</a>
  <a href="../about.html">About</a>
</nav>
I’ll add a link back to the blog at the end of the post. Since we’re already in the blog folder, linking to index.html is all we need to reach the blog home.
<a href="index.html" class="button">← Back to the blog</a>The class="button" bit is a style that Simple.css provides that makes a text link look like a button. The ← is a special code called an HTML entity. They are used for encoding special characters. This particular one is a left arrow. You can see a list of other entities here.
I’ll add three blog posts dated a few days apart, just for example purposes. When I’m done, I’ll have these posts.
- How I taught my cat to make a website with HTML
- The time I built a website for aliens
- Why donuts are the best thing ever
My file structure will look like this:
blog2024-04-12-whiskers.html2024-04-15-aliens.html2024-04-20-donuts.htmlindex.html
csssimple.css
imagesblake.jpgspace.jpg
about.htmlindex.html
Text formatting
Let’s see some tags you can use in your blog posts and other pages.
For bold and italics, we can use the tags <strong> and <em>, respectively.
<p>
  After just three days, <strong>Whiskers can now create web pages</strong> better than <em>I</em> can!
</p>
Which would render like this.

Block quotes
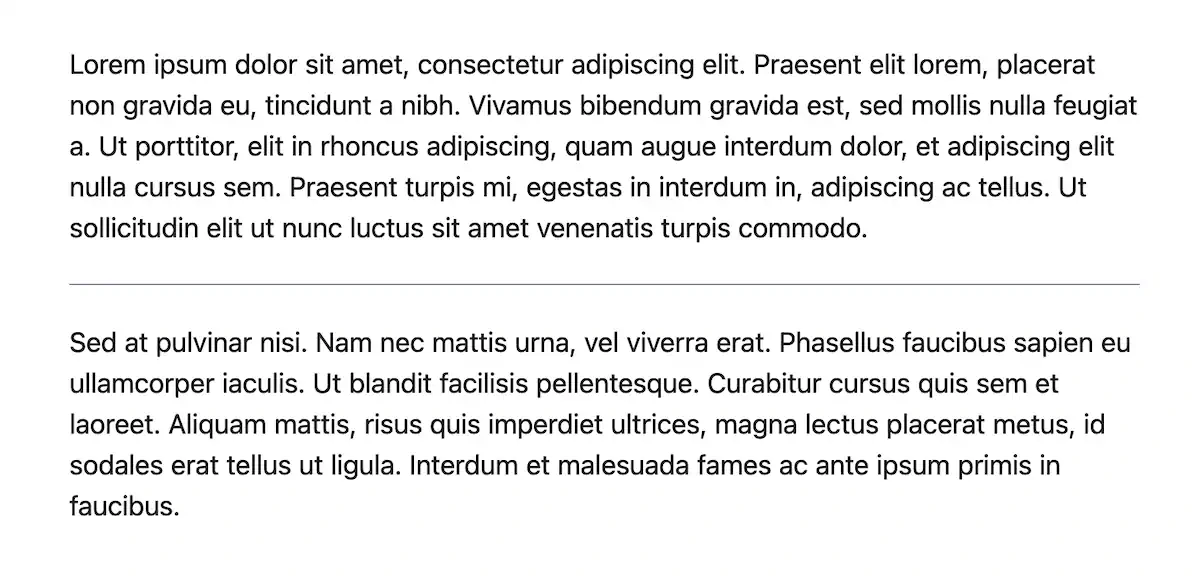
We can use the <blockquote> tag to quote a person, a book, another website, or even ourselves.
<blockquote>
"HTML is <strong>elementary</strong> my dear Watson."<br>
<cite>— Whiskers, probably</cite>
</blockquote>Here, I’m using <strong> to give extra emphasis. I’m using the <cite> tag to display the source of the quote. The self-closing <br> tag creates a manual line break, which pushes the <cite> element to the following line. I used another special character, —, to create an em dash.
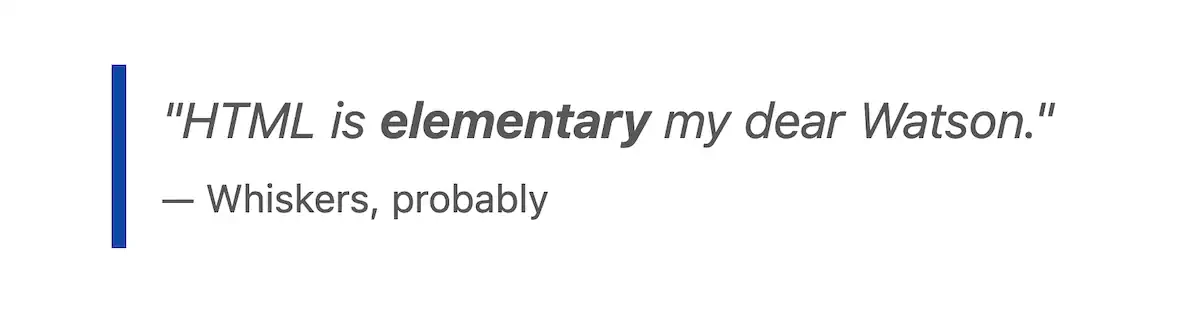
Block quotes are typically styled as indented blocks of text, often with a border or background color for extra emphasis. The above image shows how Simple.css styles them (unless noted otherwise, all of the example images I post are HTML styled with Simple.css).
Recap: headings and lists
We covered these briefly in Chapter 2, Add content to your website, but it’s worth recapping. Our blog posts already use the topmost heading, the <h1>, but if you’re writing a blog post that needs more headings, that’s totally fine!
Headings in HTML are hierarchical, meaning <h2> headings should follow <h1> headings, <h3> headings should follow <h2> headings, and so on. Technically, HTML gives us six heading levels—<h1> through <h6>. But moderation is key here. Ask yourself if you’re really making your page easier to understand by adding so many levels of headings. My advice is to stick with three levels or less.
And, of course, we have lists. We covered these in Chapter 2, but let’s look at them again. You’ve got two options here—a bulleted list (called unordered) and a numbered list (called ordered).
Here’s a bulleted or unordered list using the <ul> tag for the list and <li> for each list item.
<ul>
  <li>Bread</li>
  <li>Sugar</li>
  <li>Hole</li>
</ul>
Which renders like this.
- Bread
- Sugar
- Hole
And here’s a numbered or ordered list (with some bolded points for emphasis).
<ol>
  <li>
    <strong>Portable Happiness:</strong> Donuts are the perfect grab-and-go
    food. You can take them anywhere: to work, to the park, or on a road trip.
    They're like little circles of happiness that fit in your hand.
  </li>
  <li>
    <strong>Instant Mood Boost:</strong> Feeling down? Have a donut. It's
    scientifically proven* that donuts can turn a frown upside down. (*Not
    actually proven, but we all know it's true.)
  </li>
  <li>
    <strong>Endless Creativity:</strong> Donut shops are constantly coming up
    with new and exciting flavors. From maple bacon to matcha green tea, the
    possibilities are endless. It's like a delicious adventure every time you
    visit.
  </li>
</ol>
Here’s how that looks.
- Portable Happiness: Donuts are the perfect grab-and-go food. You can take them anywhere: to work, to the park, or on a road trip. They’re like little circles of happiness that fit in your hand.
- Instant Mood Boost: Feeling down? Have a donut. It’s scientifically proven* that donuts can turn a frown upside down. (*Not actually proven, but we all know it’s true.)
- Endless Creativity: Donut shops are constantly coming up with new and exciting flavors. From maple bacon to matcha green tea, the possibilities are endless. It’s like a delicious adventure every time you visit.
You can even nest lists like this.
<ul>
  <li>
    First main point
    <ul>
      <li>Sub point</li>
      <li>Another sub point</li>
    </ul>
  </li>

  <li>
    Second main point
    <ul>
      <li>Sub-point</li>
      <li>Another sub-point</li>
    </ul>
  </li>
</ul>
That would render something like this.
- First main point
- Sub point
- Another sub-point
- Second main point
- Sub point
- Another sub-point
Breaking up content
One of the ways we can manually add space between elements is the <br> tag or break tag. The break tag adds a line break. For example, consider this haiku (by Robert Cole).
<p>
  A timeless red orb
  floats lazy in the ether
  unimpressed by war.
</p>
By default, the browser will render everything on one line and ignore most whitespace in your HTML.

On the one hand, this is a good thing—it means we can format our code how we want without our visitors seeing a ton of line breaks and indentation on the page that we didn’t intend. But sometimes, we do want actual line breaks.
We can fix our haiku by putting a couple of <br> tags in there.
<p>
  A timeless red orb<br>
  floats lazy in the ether<br>
  unimpressed by war.
</p>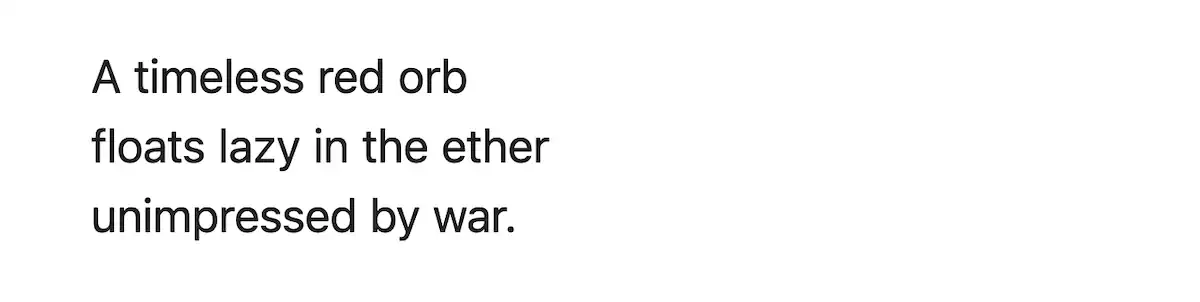
This is helpful in small doses but use it sparingly. Most of the time, spacing between elements should be controlled with CSS—by applying margin or padding, for example. Fortunately, our Simple.css stylesheet has good default spacing. We’ll cover using CSS for customized spacing in the bonus chapter at the end of this book.
Another way to manually break up content is to use a horizontal rule, or <hr> tag. It’s typically styled as a horizontal line. This can be helpful when you want to separate content—like a new section or a new scene, in the case of a story. Here’s what it can look like.
Code and pre-formatted text
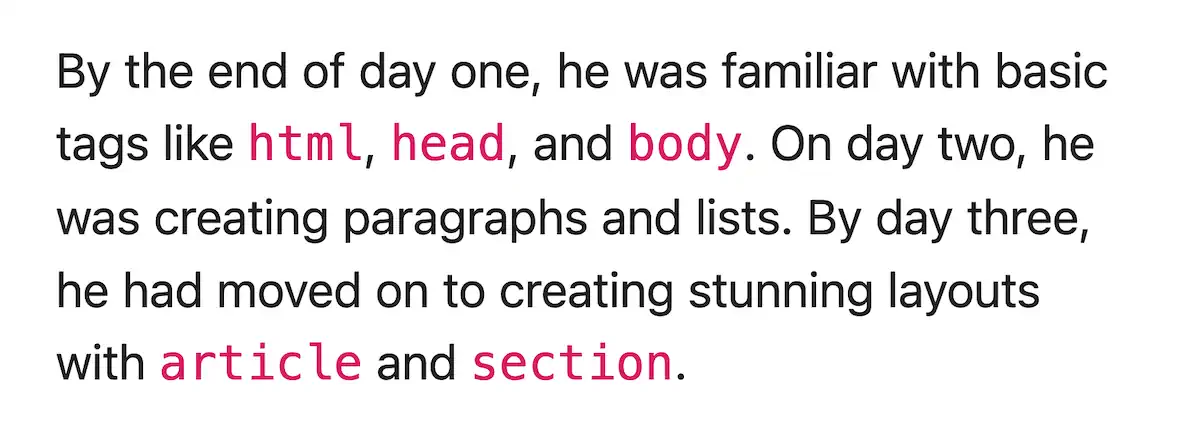
I’ve been using these tags a lot on the pages you’ve been reading in this book. Consider this paragraph:
<p>
  By the end of day one, he was familiar with basic tags like <code>html</code>,
  <code>head</code>, and <code>body</code>. On day two, he was creating
  paragraphs and lists. By day three, he had moved on to creating stunning
  layouts with <code>article</code> and <code>section</code>.
</p>
That will display the code bits in a monospaced font and a different color, like this.
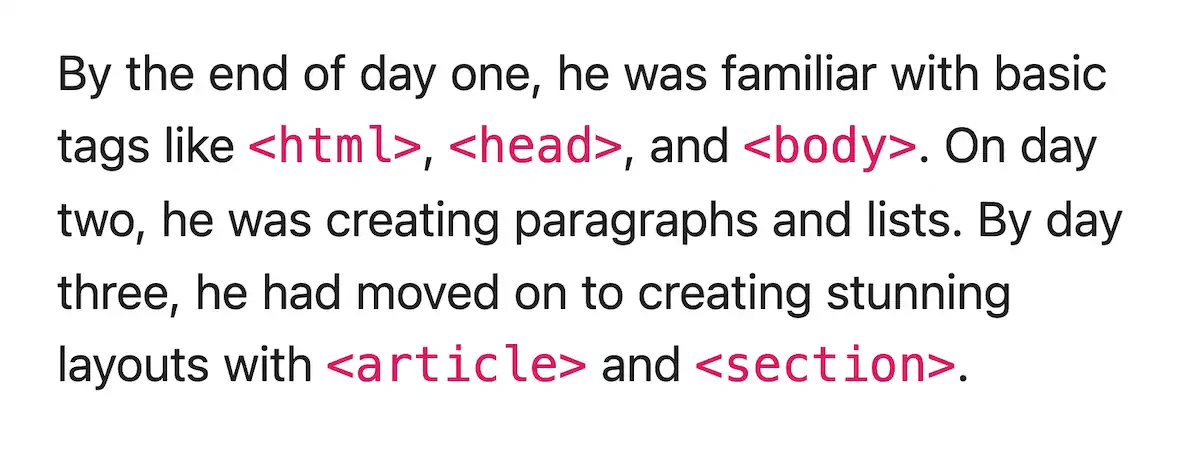
You’ve seen me include the less-than (<) and greater-than (>) symbols in my code elements on the pages of this book (like this, <a>). That takes a little bit of extra work. Like if I want to mention an <a> tag, I can’t simply write <code><a></code> because the browser will think I’m trying to make a literal link inside the <code> tag. To include the less-than and greater-than symbols (sometimes called “angle brackets”), we’ll need the HTML entities < and >, respectively. That will tell the browser we want to render the actual symbols.
<p>
By the end of day one, he was familiar with basic tags like
<code><html></code>, <code><head></code>, and
<code><body></code>. On day two, he was creating paragraphs and lists.
By day three, he had moved on to creating stunning layouts with
<code><article></code> and <code><section></code>.
</p>That gives us the following.
As we saw earlier, when rendering your content, the browser ignores most of the whitespace in your code. But sometimes, you want to preserve the exact spacing and line breaks. A fun example is ASCII art, which is when you make art with plain text characters.
    ___       ___       ___       ___
   /\__\     /\  \     /\__\     /\__\
  /:/__/_    \:\  \   /::L_L_   /:/  /
 /::\/\__\   /::\__\ /:/L:\__\ /:/__/
 \/\::/  /  /:/\/__/ \/_/:/  / \:\  \
   /:/  /   \/__/      /:/  /   \:\__\
   \/__/               \/__/     \/__/
The above should appear as the letters “HTML” using a 3d effect. It works because it uses a monospaced font and preserves all the whitespace. How did I do it? I used the <pre> tag, which is for pre-formatted text. Use it like this.
<pre>
    ___       ___       ___       ___
   /\__\     /\  \     /\__\     /\__\
  /:/__/_    \:\  \   /::L_L_   /:/  /
 /::\/\__\   /::\__\ /:/L:\__\ /:/__/
 \/\::/  /  /:/\/__/ \/_/:/  / \:\  \
   /:/  /   \/__/      /:/  /   \:\__\
   \/__/               \/__/     \/__/
</pre>
If you’d like to play with more ASCII text art, check out this text art generator.
Asides
The <aside> tag is fun since Simple.css styles it in an interesting way. These are useful for callouts or asides to the main content. For example, I included an aside that lists ingredients in my blog post about donuts.
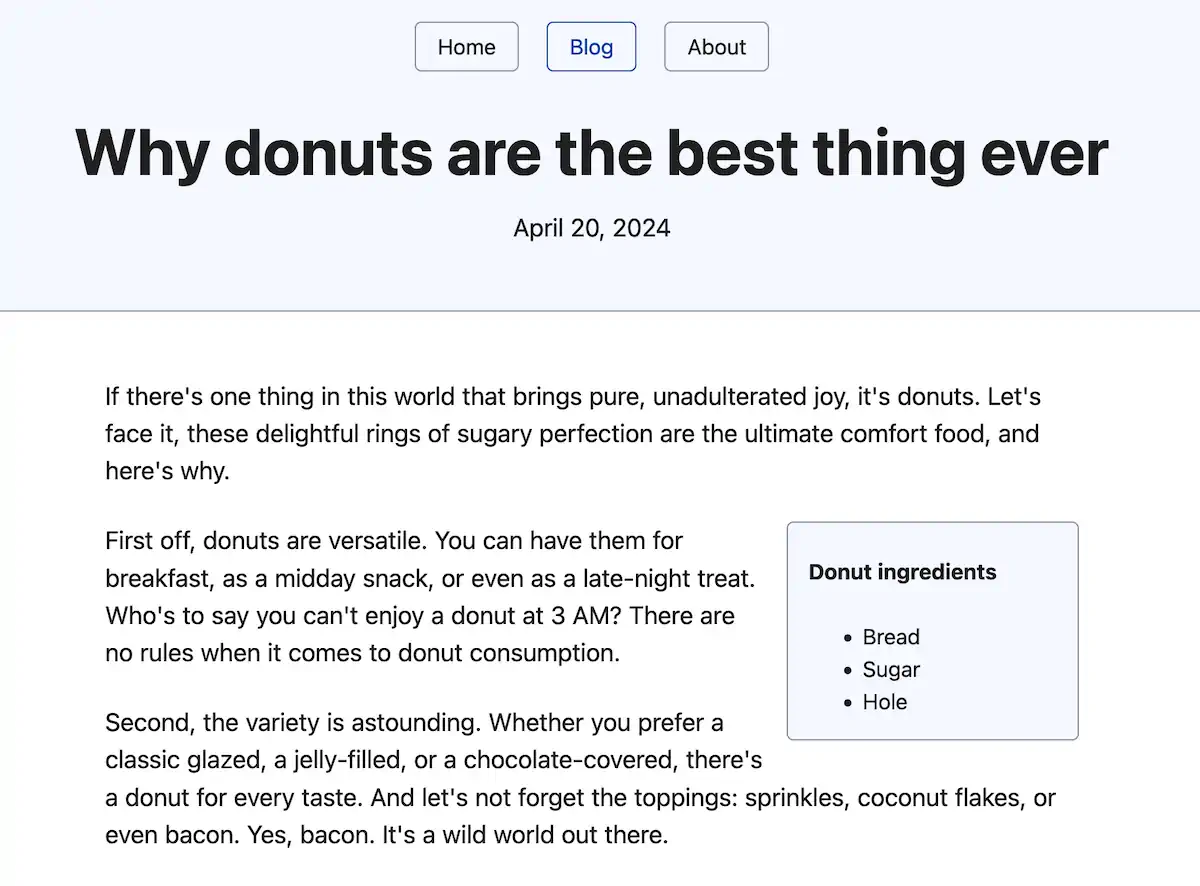
Simple.css will style the aside as a rounded box and shift it to the side. This is a neat way to add extra notes or secondary content to a page.
Mark, strikethrough, deletion, insertion
Here are some more text formatting tags for you. Use <mark> to highlight text. If you want strikethrough unwanted text, wrap it in the <s> tag. If you want to explicitly show edits to a document, prefer the <del> tag for indicating a deletion and the <ins> tag to show inserted text. For example, this is from my donut post.

Fill out our blog index page
Okay, we’ve covered a variety of tags you can use to mark up different types of content. You can take some time and play with these. There’s no rush! I’ll be right here when you’re ready. Once you have two or three blog posts, let’s put them on the main blog page.
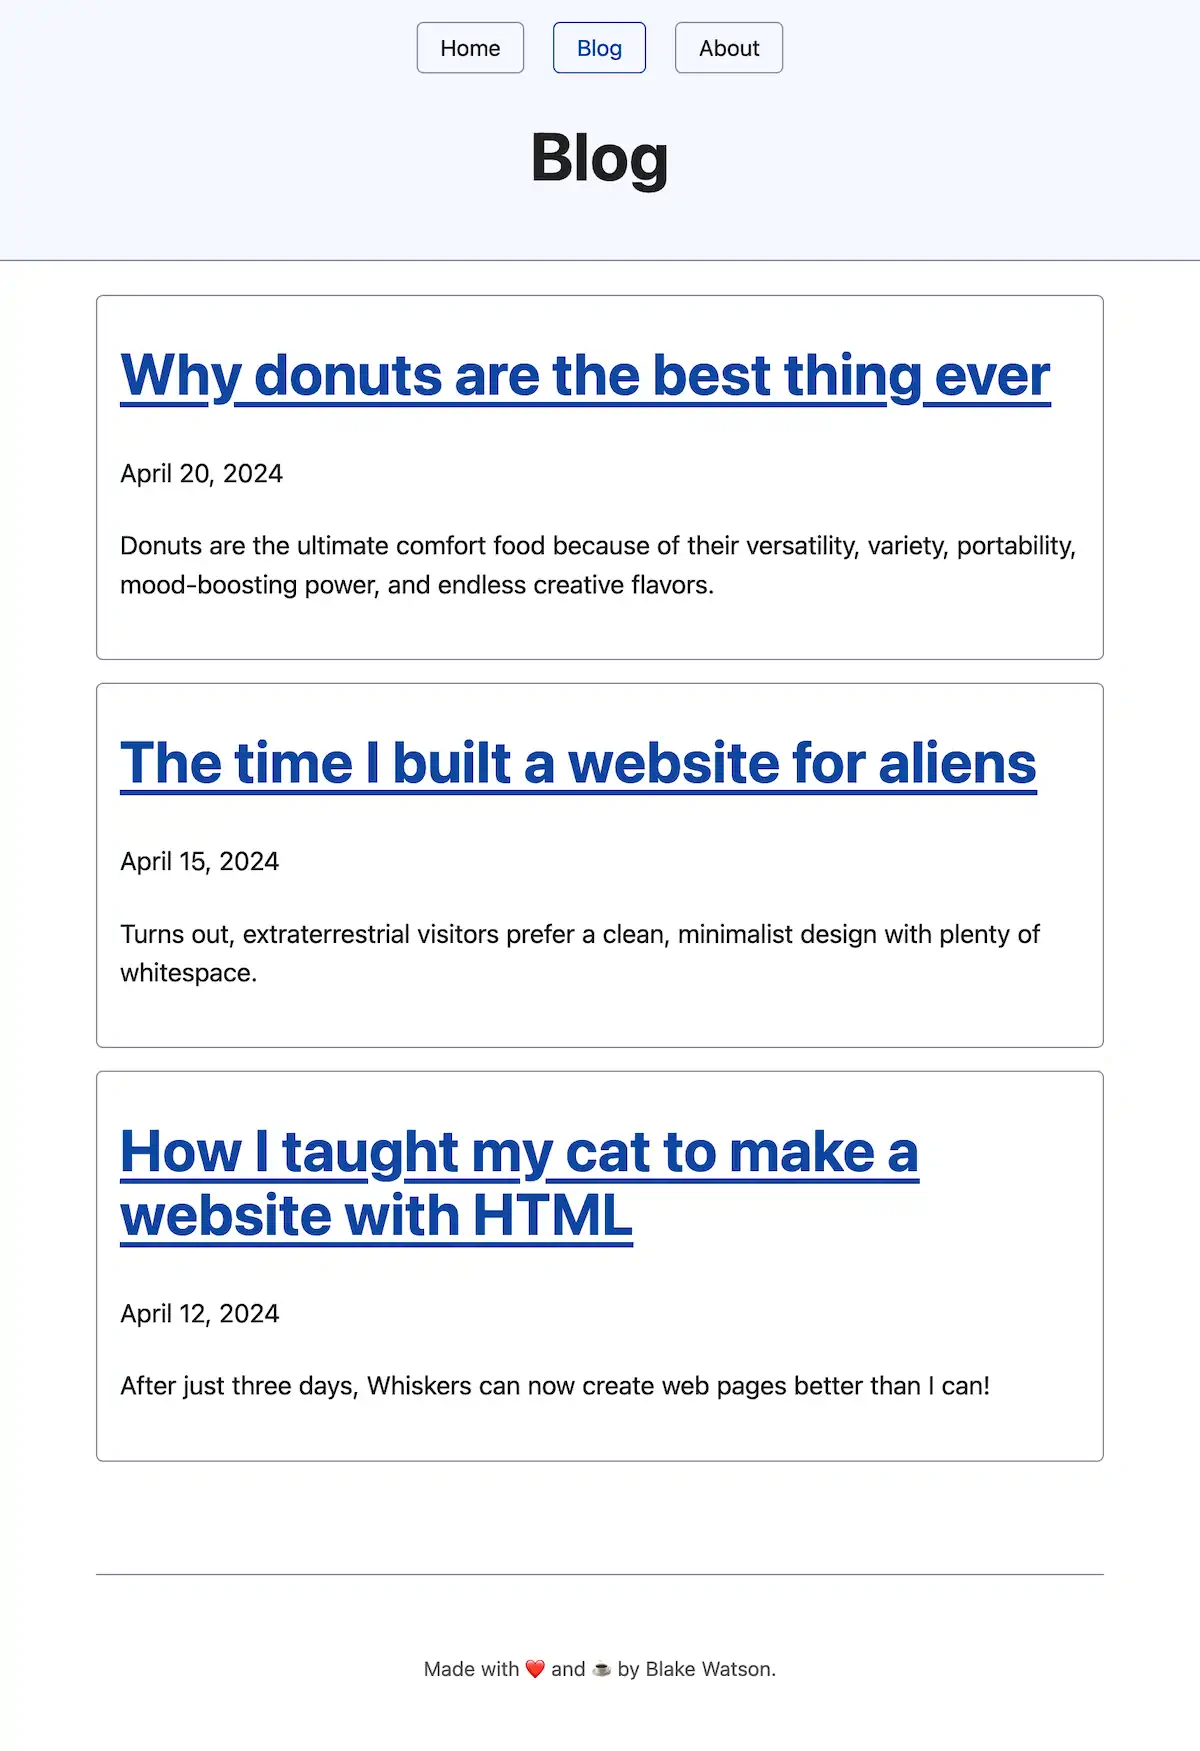
If you open blog/index.html, it looks a bit empty. We’ll fix that now by displaying the title of each blog post, the newest first, the publish date, and a one-sentence summary. Clicking the title of a blog post should take the reader to it.
Let’s use the <article> tag for each one because each represents an independent composition. As a bonus, Simple.css will style these as cards. Let’s use <h2> for the blog post title, inside of which we will put a link (the <a> tag). We’ll use the time tag for the date. We’ll use a regular paragraph, or <p> tag, for the summary. The final markup looks like this.
<main>
  <article>
    <h2>
      <a href="2024-04-20-donuts.html">
        Why donuts are the best thing ever
      </a>
    </h2>
    <p><time datetime="2024-04-20">April 20, 2024</time></p>
    <p>
      Donuts are the ultimate comfort food because of their versatility,
      variety, portability, mood-boosting power, and endless creative flavors.
    </p>
  </article>
</main>
The link in the header will take an href attribute, the link’s destination. Since we’re already in the blog folder, we can use the blog post filename as the destination.
We’re using the <time> tag to provide a machine-friendly version of the date. That could be useful for search engines searching your site or supporting potential browser features that rely on dates. The <time> tag takes an attribute called datetime where you can provide the machine-readable version.
Add an <article> like the above for each blog post you want to link to. You will end up with something like this.
A table of the (HTML) elements
Phew! We covered quite a few tags and added a lot of content during this chapter. It can be a lot to remember. If you ever need to look up how to use a particular HTML tag—or if you want to see what HTML tags are available to you—check out this handy HTML elements reference on MDN. MDN is more or less the official user manual of the web. Just search for any tag, attribute, or concept you want to know more about.
Update the live site (optional)
If you want to upload your changes to Neocities, follow the same process as in previous chapters. Drag and drop the blog folder onto the drop zone to upload the entire folder simultaneously. Since you have updated the nav menu across all pages, you’ll also want to re-upload the Home and About pages.
Of course, you can also keep working locally instead of uploading your progress now. It’s up to you!
Up next
Phew, we’ve finished our whirlwind tour of adding a blog with various tags! Next, we’ll slow our pace and focus on page structure by adding a resume page you can share with potential employers.