Add content to your website
First, pat yourself on the back because you now have a live, homemade website! Now it’s time to make it more interesting.
Add a heading
Let’s give it a name! It depends on what kind of site you’re making, but mine will be a personal homepage. Everyone and their mom have a social media profile, but those are boring and same-y. We deserve more. And our old friend, the personal homepage, is a perfect place to start.
Blake's Homepage

My name is Blake. I enjoy making websites and teaching others to do the same.
Nice! Let’s view it in the browser.
Well, that’s not what we wanted. The browser slammed our text together on one line. What gives?!
We’re missing the markup in Hypertext Markup Language. We must tell the browser we want our site name to be a heading. In HTML, you can have up to six levels of headings. We’ll set our site name as the most prominent heading, a level 1 heading, or <h1>.
What is this weird pill-shaped code I just wrote? It’s called an HTML tag. We wrap parts of our page in tags to tell the web browser what they are. Let’s do that now.
<h1>Blake's Homepage</h1>

<p>
  My name is Blake. I enjoy making websites and teaching others to do the same.
</p>
Here, we’ve separated the two elements of our page and wrapped each one inside tags. We’re saying our site name should be a level 1 heading, and our first paragraph should be, well, a paragraph—that’s what the p stands for.
Notice that a pair of tags has an opening tag and a closing tag. The closing tag looks identical to the opening tag, except it begins with a slash, /.
Now, save the file and reload the browser. This is often the flow of website creation: You change some code, save it, and then hit reload on your browser. Then, feel the power coursing through your veins as you create a website from nothing!
Whoa, that’s much better! Let’s keep going by adding some more content.
Linking to other websites
Do you ever wonder why it’s called the web? Like what does that even mean? The special sauce that makes it a web is the hyperlink, or as we usually call it, a link. You know, it’s the often blue, often underlined text you can click to hop to another page, site, image, cat video, or anything!
It’s made possible by the anchor element, or “A tag,” as it’s commonly known. It looks like this:
<a>This will go somewhere eventually</a>Whatever is inside the <a> tags becomes clickable. But where does the link take us? Currently, nowhere. We need to specify a destination. We can do that by giving the <a> an attribute called href. It’s the hypertext reference—the place you want to go when you click the link.
<a href="https://www.wikipedia.org/">Go to Wikipedia</a>Let’s add a link to our website—pick one of your favorite websites or something fun and interesting.
<h1>Blake's Homepage</h1>

<p>
  My name is Blake. I enjoy making websites and teaching others to do the same.
</p>

<p>
  Check out these cool web games at <a href="https://neal.fun/">Neal.fun</a>!
</p>
Save and reload!
With the help of the humble <a> tag, your website becomes a part of the living, breathing web. There are over a hundred HTML tags, but you don’t need to memorize them to build a website. You can do a lot with a little. Let’s look at a few more tags that can get you started.
Lists of things
List lovers, this set of tags is for you. We’ll use the unordered list element, <ul>, to add a bulleted list. The <ul> defines the list, while the list item tag, <li>, defines each item. Like this:
<ul>
  <li>The first thing</li>
  <li>Another thing</li>
  <li>And lastly, this thing</li>
</ul>
The above code becomes a bulleted list like so:
- The first thing
- Another thing
- And lastly, this thing
If you want a numbered list instead, change <ul> to <ol> (for ordered list). That’s it! You will create a numbered list instead.
- The first thing
- Another thing
- And lastly, this thing
Let’s add a list to our website. Here’s the full site so far:
<h1>Blake's Homepage</h1>

<p>
  My name is Blake. I enjoy making websites and teaching others to do the same.
</p>

<p>
  Check out these cool web games at <a href="https://neal.fun/">Neal.fun</a>!
</p>

<h2>Favorite board games</h2>

<ul>
  <li>Dungeons & Dragons</li>
  <li>Risk</li>
  <li>Pandemic</li>
</ul>

<h2>How to make a website</h2>

<ol>
  <li>Create an HTML file</li>
  <li>Write some HTML in it</li>
  <li>Open it with your web browser</li>
</ol>
Hey, this thing is slowly starting to look like a website now!
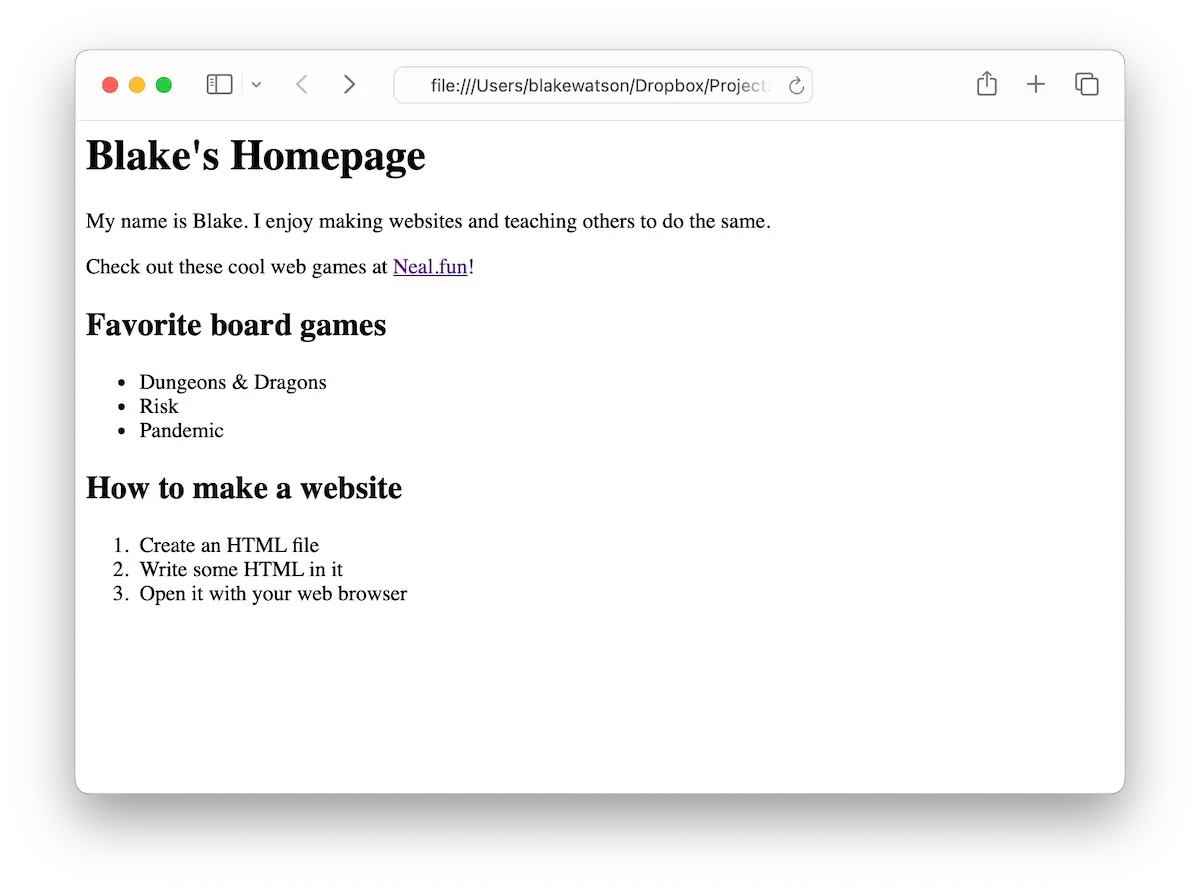
You’ll notice I snuck a new tag in there without mentioning it. It’s a level 2 heading, or <h2> tag. Headings add structure to a page, making it easier for visitors to find what they want.
There’s another subtle difference between the tags we’ve been using. Some of them, like the <a> tag, are inline elements, meaning they do not start new lines and only take up the necessary width. Other tags—like <h1>, <ul>, and <p>—are known as block elements. A block element starts on a new line and occupies the full width of its container.
So far, we’ve got a lot of words, but do you know what’s worth a thousand of them?
Add images to your website
Let’s add a cool image to our website. While it might be tempting to go to Google Images and grab the first thing you find, that’s not the way to go. You must make sure you have the proper rights to the image. There are a lot of places on the web to find images to use (look for images with a Creative Commons license). For simplicity, let’s use the popular free image site, Unsplash.
I found a cool image of space. I downloaded the small-size version and renamed it space.jpg to make it easier to refer to. Find an image you like and drop it in the folder next to your index.html.
You can add it to your page using the image tag or <img>. Unlike the tags we’ve seen so far, the <img> tag is self-closing. That means there isn’t a closing tag. It looks like this:
<img src="space.jpg" alt="Photograph of space with stars and stardust.">Just like with the <a> tag, the <img> tag uses attributes to provide more information about how you want to use the tag.
Use the src attribute to tell your image tag the source of your image, that is, where it’s located. In this example, we’re saying the image is in the same folder as our index.html page (as opposed to a subfolder) and specifying that the image’s filename is space.jpg.
We also need to describe the image in case some visitors to our website cannot see it. This could happen for several reasons—maybe our visitor is blind and uses a screen reader to access websites. Or maybe a glitch causes the image not to load for some reason. If that happens, our alternative text, or alt text, will be shown instead.
Let’s save and refresh the browser.
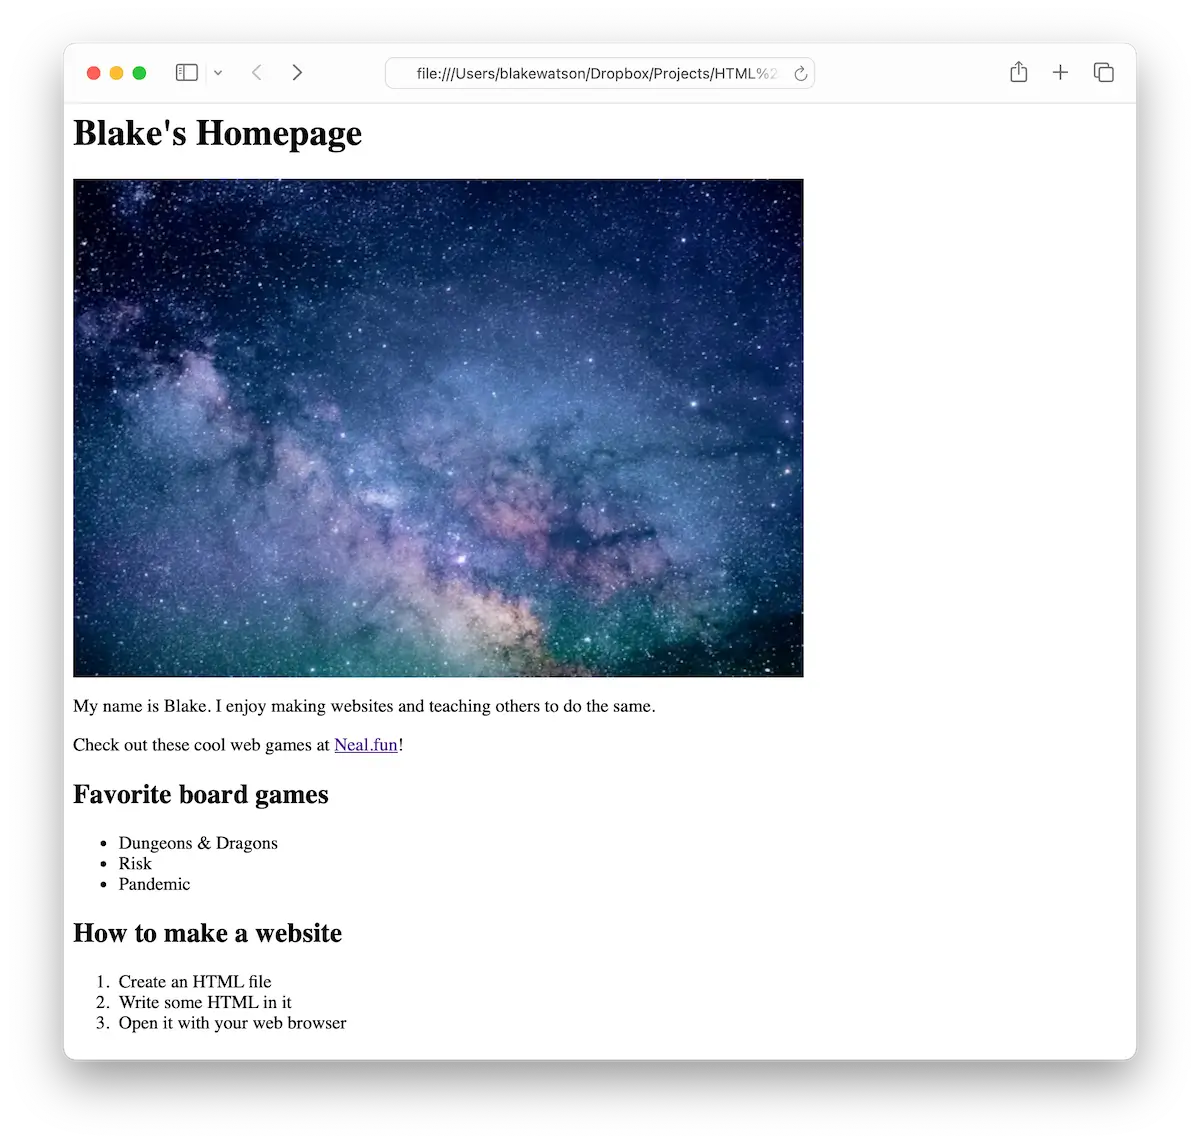
I resized the window so the whole page would fit in the screenshot, but if you’re seeing a scrollbar, that’s totally fine!
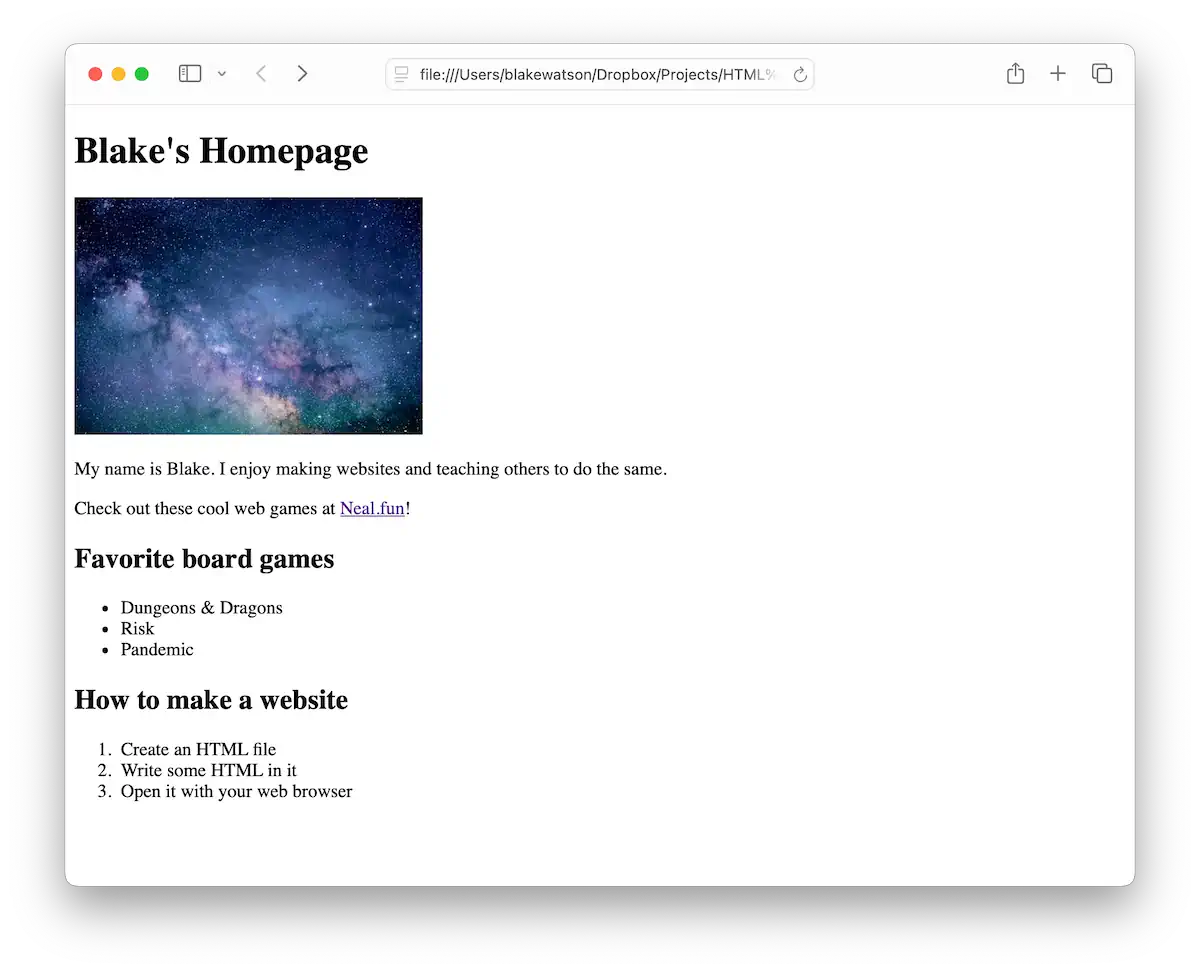
Depending on your image, you might want to make it smaller or larger. You can use the width and or height attributes for this. If you specify either the width or height, the browser will maintain the image’s aspect ratio—it won’t stretch or squish it. To set a width or height for the image, you provide a number which represents an amount of pixels.
<img src="space.jpg" alt="Photograph of space with stars and stardust." width="300">If we set the width to 300, it looks like this:
Add notes to your code
Sometimes, you want to put notes in your code—text that isn’t displayed on the page but remains visible in the code. You might do this to help organize a document, leave notes (like todos) for your future self, or even hide some work-in-progress code you don’t want displayed yet.
For example, I could leave a note to return and update my favorite board games.
<h2>Favorite board games</h2>

<!-- Todo: after playing some new games,
see if any deserve to make this list. -->

<ul>
  <li>Dungeons & Dragons</li>
  <li>Risk</li>
  <li>Pandemic</li>
</ul>
The browser will ignore anything between <!-- and --> and will not render it on the page. This type of text is called a comment. Comments give you a nice way to annotate code since they’re only visible in the code—not on the rendered webpage.
Here’s another example of how I’ve wrapped multiple HTML tags inside a comment. Nothing in the comment will appear on the page—only in the source code.
<!--
Work in progress. When I finalize this list, I'll remove the comment markers.

<h2>Favorite board games</h2>

<ul>
    <li>Dungeons & Dragons</li>
    <li>Risk</li>
    <li>Pandemic</li>
</ul>
-->
Your HTML code is public, even the comments. Anyone can view the source code of your website, so don’t put anything secret or sensitive inside comments. To view the source code of a page, you can press a keyboard shortcut or find the option in your web browser’s menu. It varies by browser. Check out this reference on Lifewire.
Give your website a head and a body
I haven’t been totally honest with you so far. We’ve been taking a shortcut. We’ve been writing only the stuff the browser will display in our index.html file. But every website has an invisible section. And now yours needs it.
Remember how we wrap most elements in tags? We actually need to wrap the whole page in the <html> tag. An HTML page is further divided into an invisible <head> section containing information about your site, and the <body>, where all your content goes.
<html>
  <head>
    <!-- info about your site goes here -->
  </head>

  <body>
    <!-- stuff you want to show up on your page goes here -->
  </body>
</html>
To make our HTML document official, let’s add a doctype line at the very beginning. The doctype is mainly needed for historical reasons, but it tells the browser, “Hey, I’m an HTML document, so please proceed to display me accordingly!” It’s okay to copy and paste that line and move on—don’t feel like you need to memorize every little thing.
<!doctype html>
<html>
  <head>
    ...
  </head>

  <body>
    ...
  </body>
</html>
For now, let’s include two things in the <head>: a title tag and a meta tag.
<head>
  <meta charset="utf-8">
  <title>Blake's Homepage</title>
</head>
The <title> tag controls the text that appears in your website’s browser tab and the name of your site when it appears in search results. Nice!
We can use the <meta> tag multiple times to give the browser extra info about our page. In this case, we’re telling it which character set to use. All you need to know here is that UTF-8 text means special symbols like emojis will appear as expected. We’ll include it first, before any other text elements, to make sure all our text is displayed properly.
Here’s the whole index.html file for reference:
<!doctype html>
<html>
  <head>
    <meta charset="utf-8">
    <title>Blake's Homepage</title>
  </head>

  <body>
    <h1>Blake's Homepage</h1>

    <img src="space.jpg" alt="Photograph of space with stars and stardust.">

    <p>
      My name is Blake. I enjoy making websites and teaching others to do thesame.
    </p>

    <p>
      Check out these cool web games at
      <a href="https://neal.fun/">Neal.fun</a>!
    </p>

    <h2>Favorite board games</h2>

    <ul>
      <li>Dungeons & Dragons</li>
      <li>Risk</li>
      <li>Pandemic</li>
    </ul>

    <h2>How to make a website</h2>

    <ol>
      <li>Create an HTML file</li>
      <li>Write some HTML in it</li>
      <li>Open it with your web browser</li>
    </ol>
  </body>
</html>
Update your live website
These changes are looking pretty good. Let’s publish this page to the world. Head over to your Neocities dashboard. You’ll see the starting files plus the index.html file you uploaded in chapter 1 of this book. To make things a bit cleaner, I’m switching to the list view and deleting the PNG image and CSS file that were there initially.
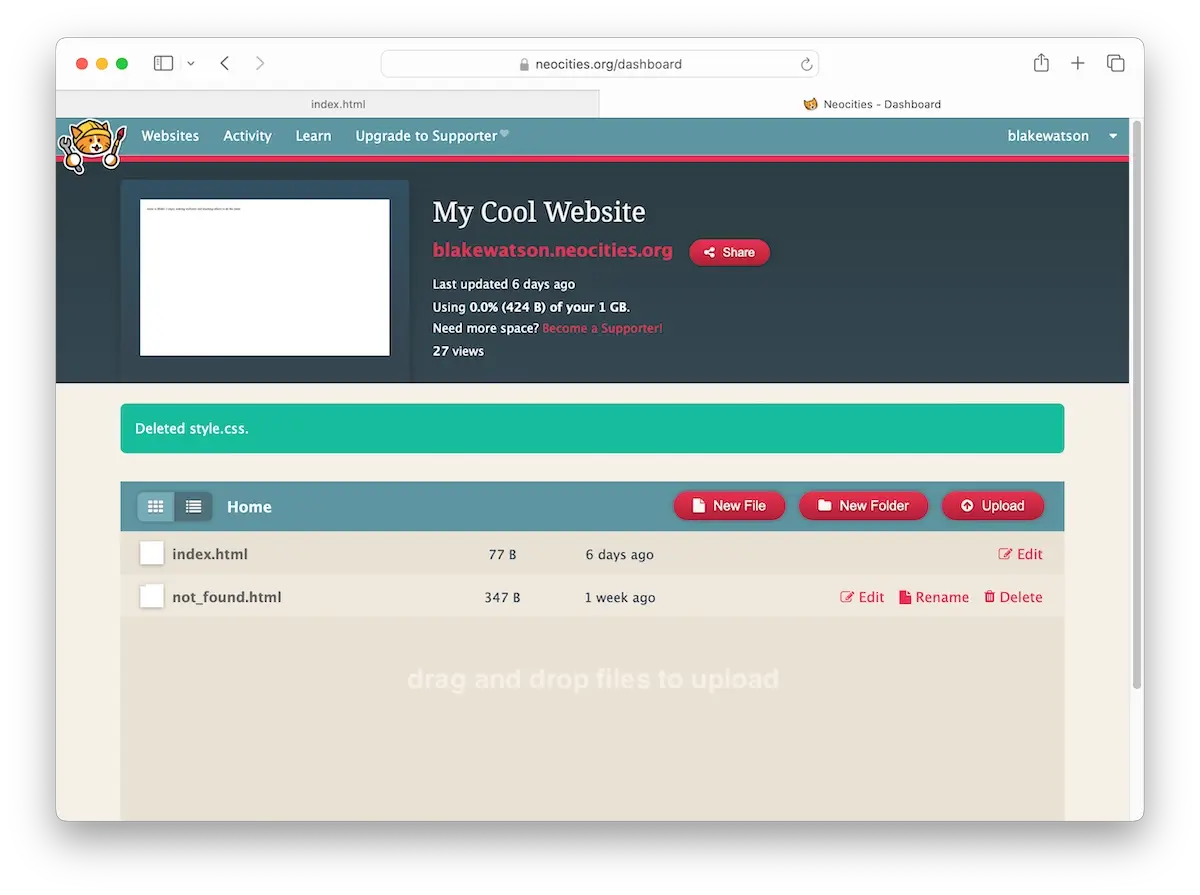
Now click the Upload button or just drag your updated files (the index page and the image) onto the file list.
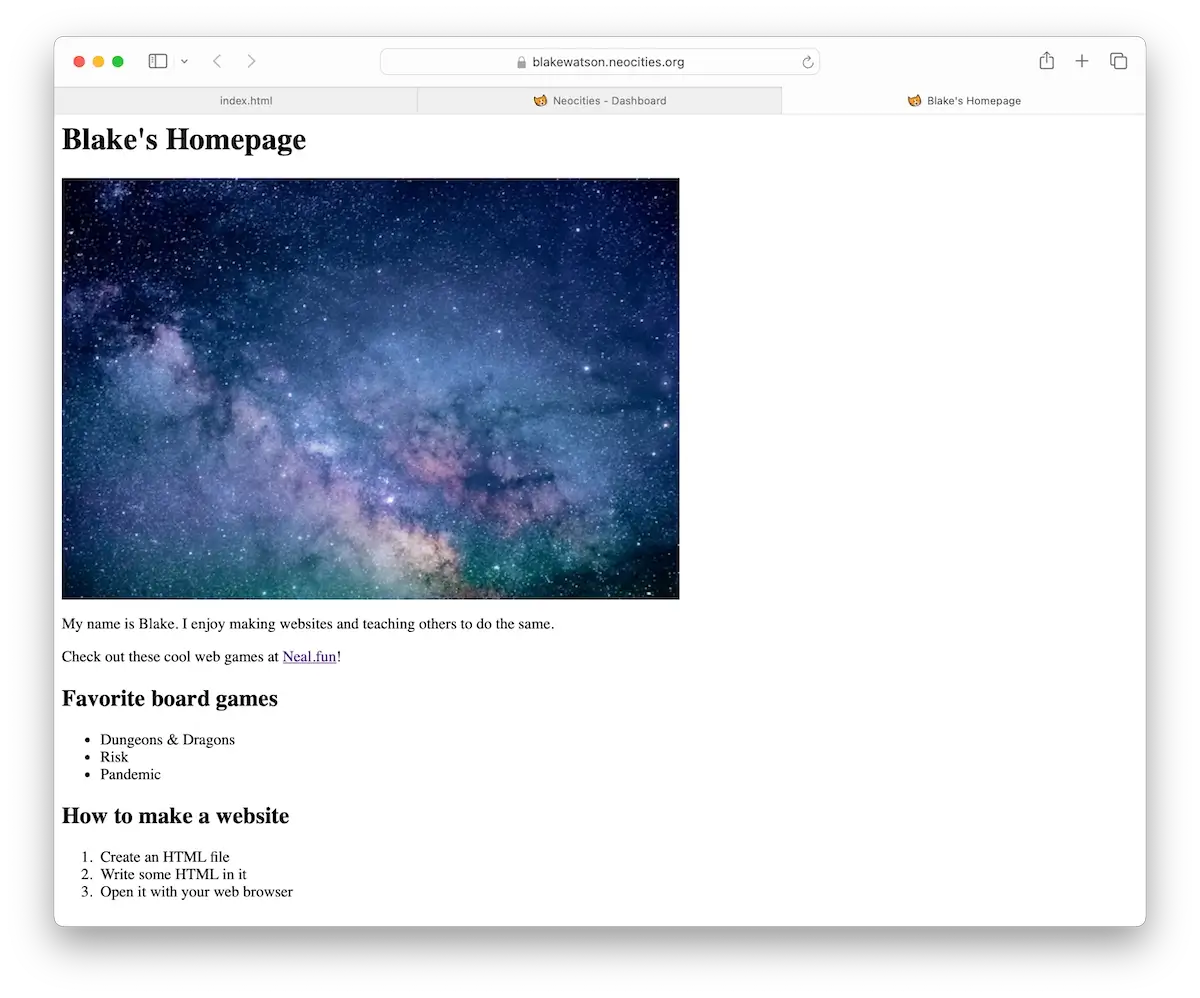
Once you’ve done that, click the link to your site at the top of the dashboard. That’s your newly updated LIVE website, which you made from scratch. How cool!
Up next
In the next chapter, we’ll take a brief intermission and get a text editor made for writing HTML.