Adding an about page
For the rest of this book, we’ll expand our personal homepage into a complete website with multiple pages and a blog. The example will continue to be Blake’s Homepage, and the content will relate to me. You’ll want to customize things as necessary to fit what you want to see on your own website.
If you don’t want to build a personal homepage, that’s cool too! The concepts we cover apply to all kinds of websites, so you can follow along and adapt as necessary.
If you want a sneak peek, visit the complete demo of Blake’s Homepage.
It has the following pages and features:
- Header with navigation
- A blog with three posts
- About page with a photo
- A digital resume
- A fun page with embedded YouTube videos
I will include many code samples in the coming chapters, but you can also go to the demo site and view the source code of any page for reference at any point.
Pages are just files that you link to
We will create a new page on our site by creating a new file. Create about.html to go alongside index.html. To save some typing, copy all the contents of index.html and paste it into about.html.
And now, let’s clean it up a little. I’ll remove the “How to make a website” heading and the paragraph with the link to neal.fun. This page should be about me. Speaking of which, I’ll also change the image to a photo of myself (if you don’t feel comfortable using a picture of yourself, use any image you want here).
I’ll expand the content by adding a couple of paragraphs. This is also an excellent place to provide any contact information you want. I’ll add a link to my Mastodon account (with an elephant emoji).
<p>🐘 <a href="https://social.lol/@bw">Drop me a line on Mastodon</a></p>Remember, a link is an <a> tag. Whatever text you wrap the tag around becomes clickable. Then you provide the href attribute, which is the link’s destination—typically a URL.
Here’s my code inside the <body> tag.
<header>
  <h1>About Blake</h1>
</header>

<main>
  <img src="images/blake.jpg" alt="Photograph of space with stars and stardust.">

  <p>
    My name is Blake. I enjoy making websites and teaching others to do the same. I started writing an HTML web book because I think everyone should have a personal website and I want to show that you don't have to be a computer science graduate to make one.
  </p>

  <p>
    I'm a side project enthusiast and have put various sites, apps, and (bad) games into the world. My hobbies include web-related nerdery, D&D and board games, and writing. I like to participate in National Novel Writing Month, the annual novel-writing challenge
  </p>

  <p>🐘 <a href="https://social.lol/@bw">Drop me a line on Mastodon</a></p>

  <h2>Favorite board games</h2>

  <ul>
    <li>Dungeons & Dragons</li>
    <li>Risk</li>
    <li>Pandemic</li>
  </ul>
</main>

<footer>
  <p>Made with ❤️ and ☕️ by Blake Watson.</p>
</footer>
And this is what it looks like.
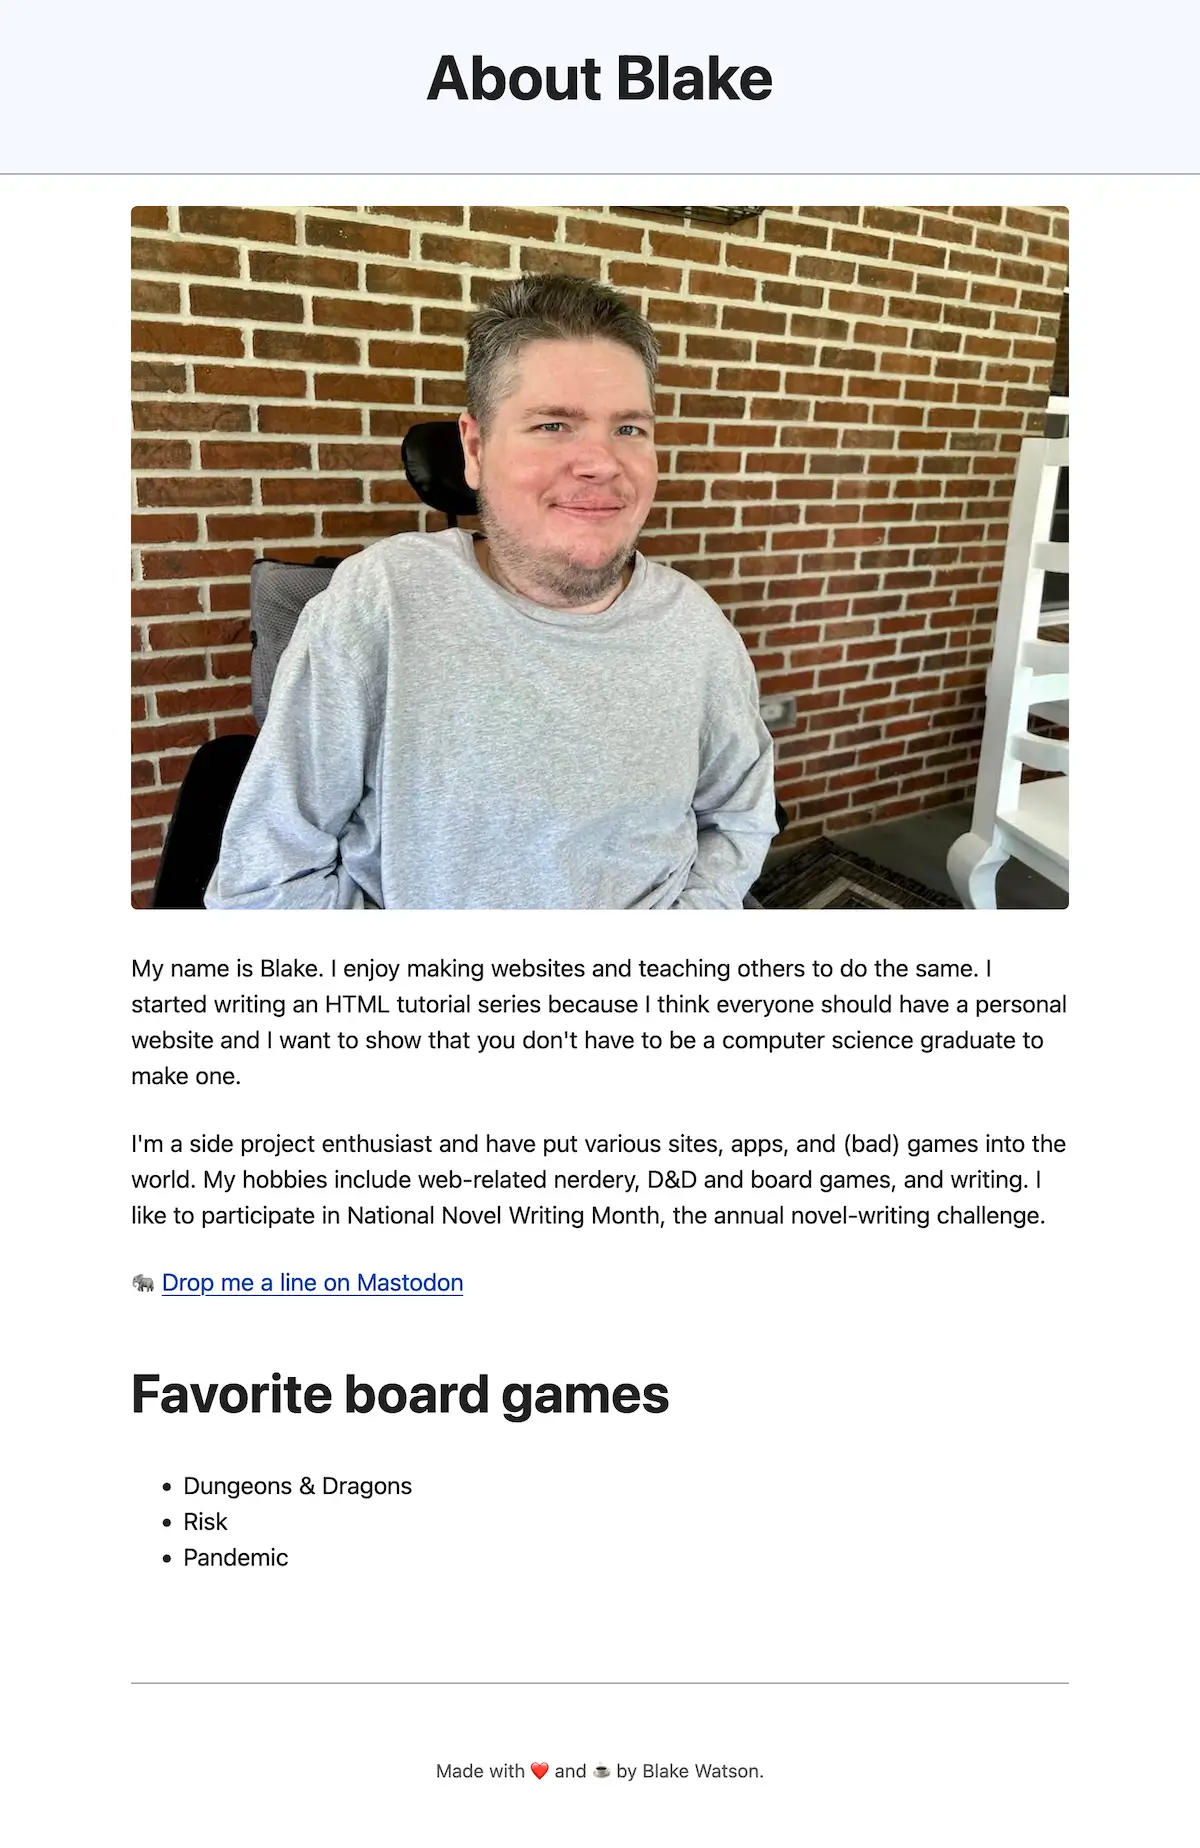
Surprise, that’s me! Anyway, this is looking like a proper about page. I admit it’s a bit contrived. You should feel free to write as much as you want here.
Navigating between pages
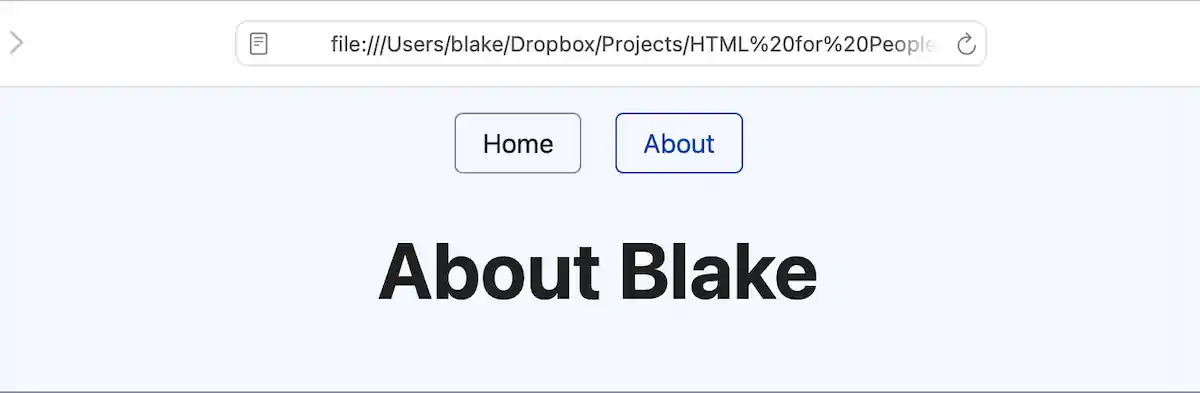
We have an About page now but need a way to navigate between our two pages. We need a navigation, or nav, menu. A nav menu is just a list of links. Simple.css seems to like the nav menu to sit above the header, so I’ll do that, although you could put it below instead.
HTML has a <nav> tag for exactly this purpose. We’ll put two links in our nav menu—one to the home page and one to the About page.
<header>
  <nav>
    <a href="index.html">Home</a>
    <a href="about.html" aria-current="page">About</a>
  </nav>

  <h1>About Blake</h1>
</header>
Since this is currently the About page, I’ve added a special attribute to the link. ARIA stands for Accessible Rich Internet Applications. We can make our site more accessible by adding the aria-current="page" attribute. It does a couple of things for us.
- It’ll make our page more accessible to assistive technologies like screen readers.
- Simple.css will style the link differently so it’s easy to tell which page we are on.
Let’s add the same nav menu to the home page. Open index.html and add the menu as we did on the About page. Since this is the home page, we should put the aria-current attribute on the Home link.
<header>
<nav>
<a href="index.html" aria-current="page">Home</a>
<a href="about.html">About</a>
</nav>
<h1>Blake's Homepage</h1>
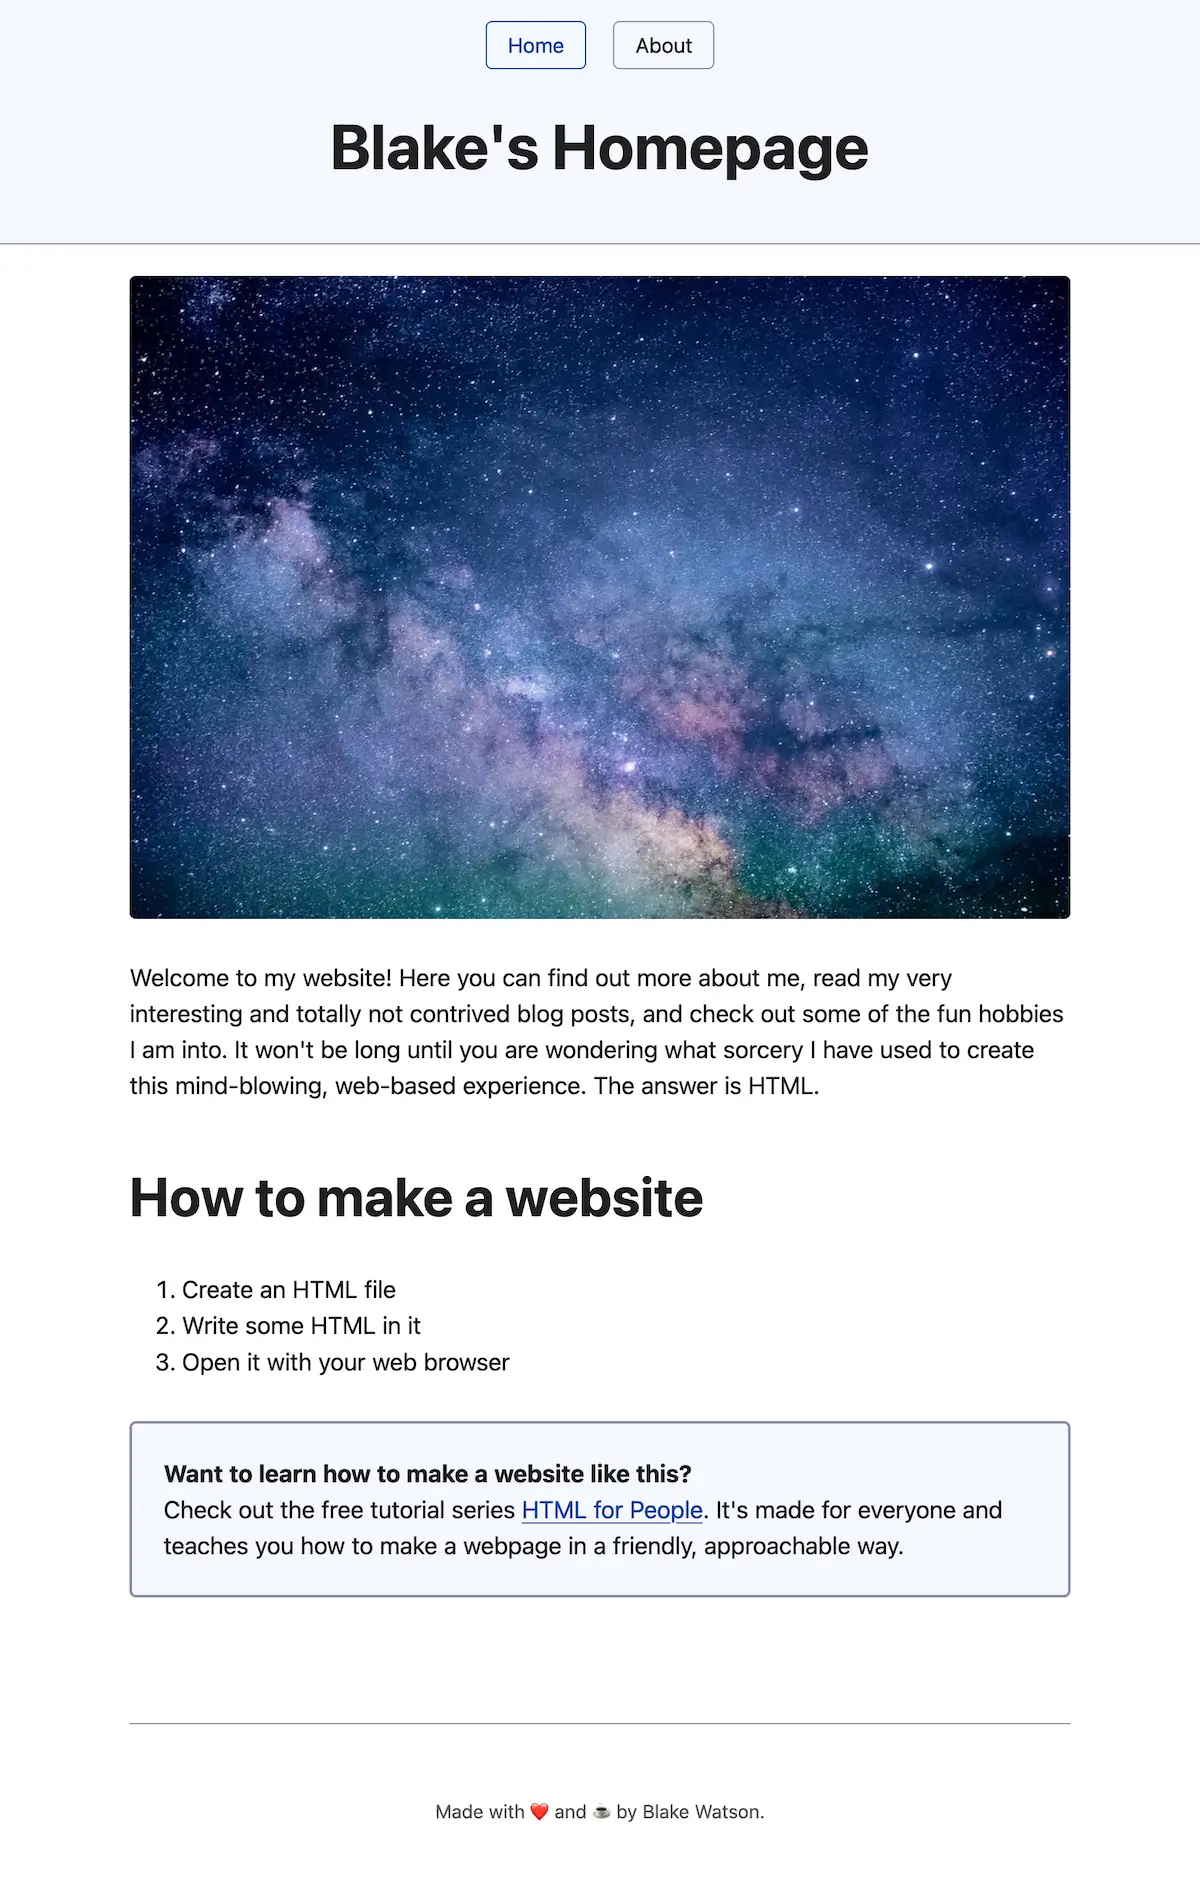
</header>Load it up in the browser and marvel at your multi-page website! Click. Click. Click…
Homepage cleanup
Since we now have an About page, some of our homepage content is redundant. Some of this is on the About page. I’ll remove the bio text, the Neal.fun link, and the board games list. I will keep the space image and add a little welcome paragraph. I might as well keep the “how to make a website” list.
Although, speaking of the space image, let’s make it more interesting. I want to give this image a caption and link to where I got it. We can further mark up an image by wrapping it in a <figure> tag and including a <figcaption>.
<figure>
  <img src="images/space.jpg" alt="Photograph of space with stars and stardust.">

  <figcaption>
    Space is cool. <a href="https://unsplash.com/photos/blue-and-purple-galaxy-digital-wallpaper-E0AHdsENmDg">Photo source</a>
  </figcaption>
</figure>
My <main> content on the homepage now looks like this.
<main>
  <figure>
    <img src="images/space.jpg" alt="Photograph of space with stars and stardust.">

    <figcaption>
      Space is cool. <a href="https://unsplash.com/photos/blue-and-purple-galaxy-digital-wallpaper-E0AHdsENmDg">Photo source</a>
    </figcaption>
  </figure>

  <p>
    Welcome to my website! Here you can find out more about me, read my very interesting and totally not contrived blog posts, and check out some of the fun hobbies I am into. It won't be long until you are wondering what sorcery I have used to create this mind-blowing, web-based experience. The answer is HTML.
  </p>

  <h2>How to make a website</h2>

  <ol>
    <li>Create an HTML file</li>
    <li>Write some HTML in it</li>
    <li>Open it with your web browser</li>
  </ol>

  <p class="notice">
    <strong>Want to learn how to make a website like this?</strong><br> Check out the free web book <a href="https://htmlforpeople.com/">HTML for People</a>. It's made for everyone and teaches you how to make a webpage in a friendly, approachable way.
  </p>
</main>
What is this class="notice"? You can learn more about classes in the bonus CSS chapters at the end of this book. But, in short, this will activate some styles provided by Simple.css to make a little box with some text in it.
Update the live site
If you want to. It’s also okay to keep working on it on your computer. Many websites are built that way—the person works on their website on their own computer until they are finished, then publishes it. But plenty of people also build their website in public, updating the live site as they go.
If you want to update it, head back to your Neocities dashboard and upload both index.html and about.html since those files have changed. If you added any images, you must click into the images folder in Neocities and upload them there (or you can drag the images folder onto the drop zone, which will replace the whole folder and contents).
Up next
We turned our webpage into a website! Next, we will add a blog and explore various HTML tags.