Adding a fun page
Alright, it’s time for some fun! Well, hopefully, all of it has been fun. But I still want to show you a handful of things you can do with HTML. I’ve saved this page for last because we’ll use some of the more complex HTML tags.
Create the file
Let’s create fun.html at the top level of the site folder. Use content from the homepage as a starting point, then change the <title> and <h1> to Fun or similar. Clear out the contents of the <main> tag.
Now, we’ll divide this page into multiple sections similar to the resume.
Jokes
First up, let’s add a section for some jokes.
<section>
  <h2>Jokes</h2>

  ...Jokes will go here
</section>
The idea is to show the setup of the joke but hide the punchline behind a click. You can demo the live version here. We’ll use the <details> and <summary> elements to achieve this behavior. They work like this.
<details>
  <summary>This content will show up by default</summary>

  <p>
    Clicking the above content will cause this hidden content to become visible.
  </p>
</details>
Here’s a video demo of this element in action.
I’m going to add three admittedly corny jokes.
<section>
  <h2>Jokes</h2>

  <details>
    <summary>Why wouldn’t the skeleton cross the road?</summary>
    <p>It didn't have the guts.</p>
  </details>

  <details>
    <summary>Why was the math book sad?</summary>
    <p>It had too many problems.</p>
  </details>

  <details>
    <summary>Why don't scientists trust atoms?</summary>
    <p>Because they make up everything!</p>
  </details>
</section>
This is a silly example, but the <details>/<summary> elements are helpful whenever you want to make it easier for people to skim content and dig deeper where they choose. For example, a Frequently Asked Questions (FAQ) list.
Using tables for tabletop gaming
Next up, let’s make use of the HTML table. The <table> tag and its related tags give us powerful ways to display information. For learning purposes, we’ll create a small one. But if you need to display a lot of tabular data, check out MDN’s page on tables.
In tabletop RPGs like Dungeons and Dragons, the gamemaster often needs to improvise to create encounters for the adventuring players. One such way is by using a random table. It’s a table that will match dice rolls up with specific items, creatures, or events. We’ll make a table with eight possible encounters the adventuring party might come across. The gamemaster will roll an eight-sided die and use the resulting encounter accordingly.
This is what the final table will look like.
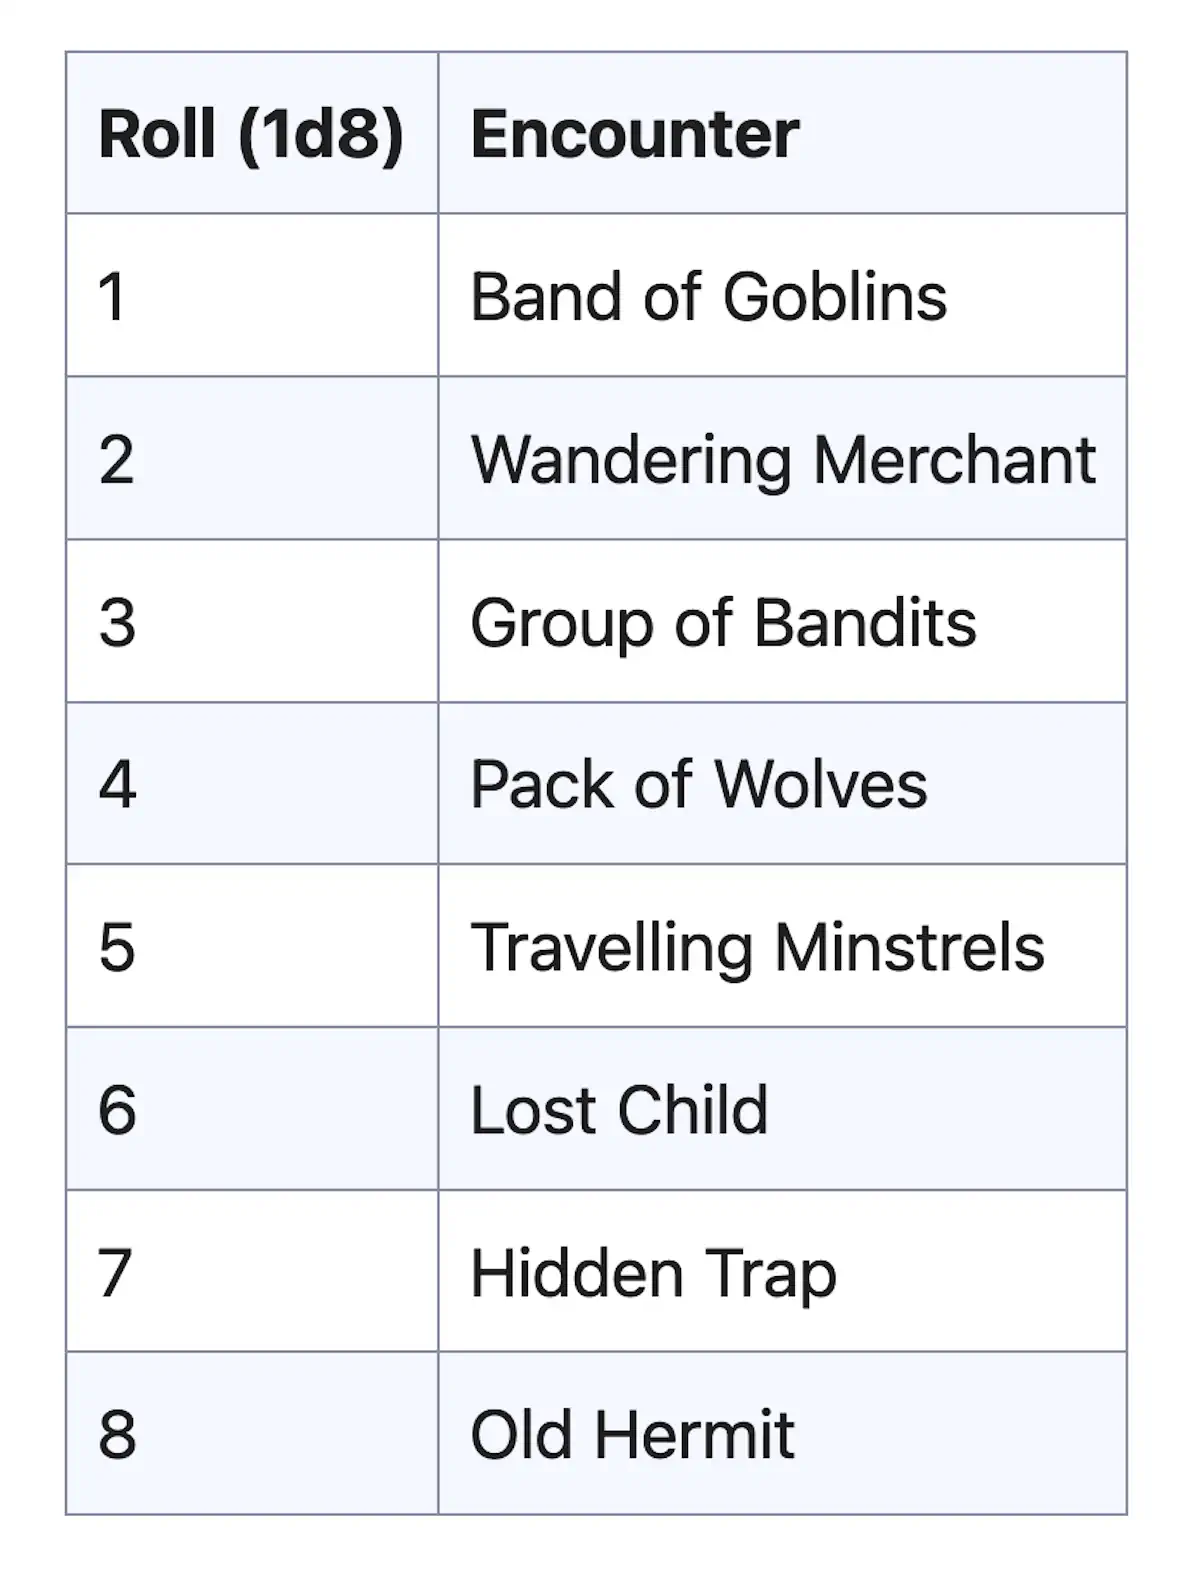
First, I will make a new <section> with a heading and some introductory text about D&D. Then, I will briefly introduce the random encounter table.
<section>
<h2>D&D stuff</h2>
<p>
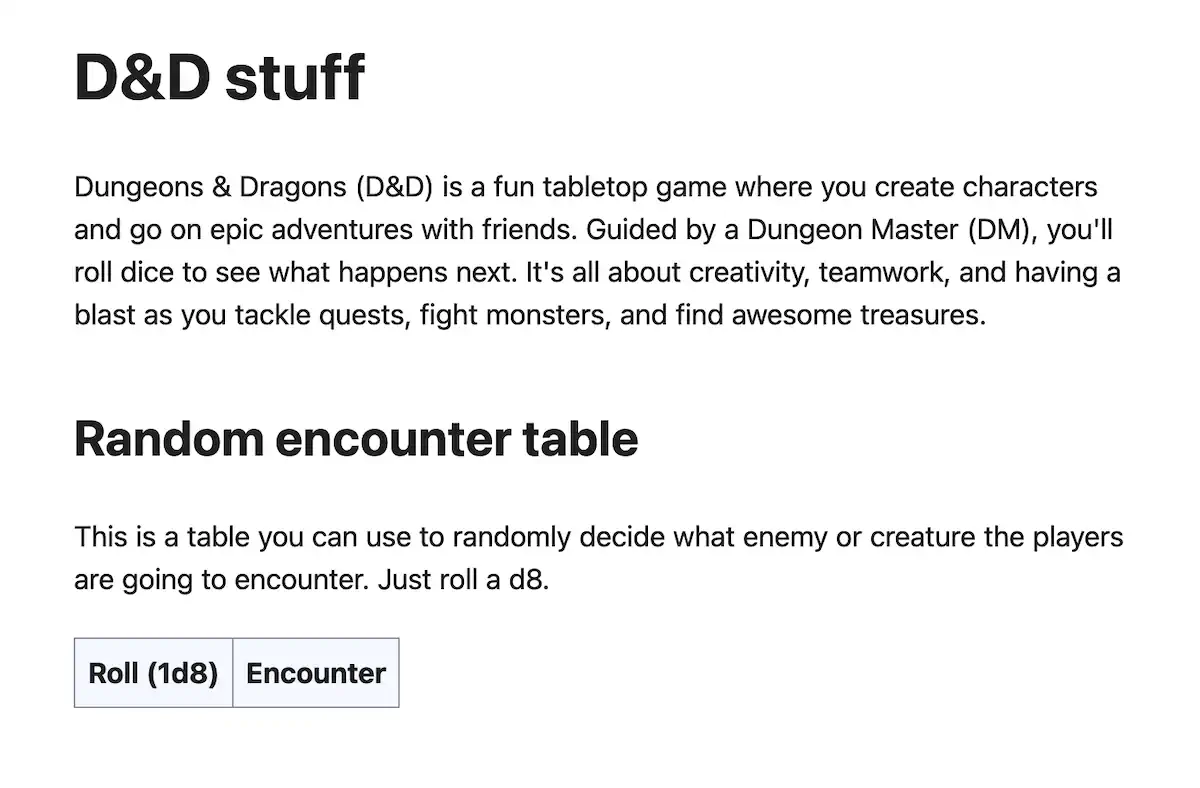
Dungeons & Dragons (D&D) is a fun tabletop game where you create characters and go on epic adventures with friends. Guided by a Dungeon Master (DM), you'll roll dice to see what happens next. It's all about creativity, teamwork, and having a blast as you tackle quests, fight monsters, and find awesome treasures.
</p>
<h3>Random encounter table</h3>
<p>
This is a table you can use to randomly decide what enemy or creature the players are going to encounter. Just roll a d8.
</p>
...The table will go here
</section>We use the <table> tag to create a table. A table can have a head section and a body section.
<table>
  <thead></thead>
  <tbody></tbody>
</table>
The table needs two columns—one for the dice roll and one for the corresponding encounter. Let’s create a table row inside the <thead>. I will fill out the head section and then explain it.
<table>
  <thead>
    <tr>
      <th>Roll (1d8)</th>
      <th>Encounter</th>
    </tr>
  </thead>
  <tbody></tbody>
</table>
The <tr> tag creates a table row. Inside that row, we’ll add two table cells. Because these are column headings, we will use the table header or <th> tag—one for the dice roll and one for the outcome. This is what it will look like so far.
Next, we can fill out our table using the table data cell or <td> tag. We will put these rows inside the body section.
<table>
  <thead>
    <tr>
      <th>Roll (1d8)</th>
      <th>Encounter</th>
    </tr>
  </thead>

  <tbody>
    <tr>
      <td>1</td>
      <td>Band of Goblins</td>
    </tr>
    <tr>
      <td>2</td>
      <td>Wandering Merchant</td>
    </tr>
    <tr>
      <td>3</td>
      <td>Group of Bandits</td>
    </tr>
    <tr>
      <td>4</td>
      <td>Pack of Wolves</td>
    </tr>
    <tr>
      <td>5</td>
      <td>Travelling Minstrels</td>
    </tr>
    <tr>
      <td>6</td>
      <td>Lost Child</td>
    </tr>
    <tr>
      <td>7</td>
      <td>Hidden Trap</td>
    </tr>
    <tr>
      <td>8</td>
      <td>Old Hermit</td>
    </tr>
  </tbody>
</table>
That’s a lot of tags! Hopefully, you can follow the logic here. Inside the <tbody>, we create eight table rows, each with two table data cells. And that will give us our final table.
HTML tables can also do some things you would do in a spreadsheet program, such as making a cell span multiple columns. We won’t get into that here, but remember that tables have power if you need it.
Embedded video
Last but not least, let’s spice up our Fun! page by adding some videos. I’ll opt for some synthwave vibes. Of course, you are encouraged to grab whatever YouTube videos you like. Some YouTubers select to disallow their videos from being embedded on other sites, so keep that in mind.
I will make a new section for my videos.
<section>
  <h2>Synthwave mixes</h2>

  ...videos will go here
</section>
First, I will grab this music mix called Waves (https://www.youtube.com/watch?v=b6toYA0W4IA). If you visit that page, you will see a share button underneath the video. Clicking that button will give you various choices for sharing the video.
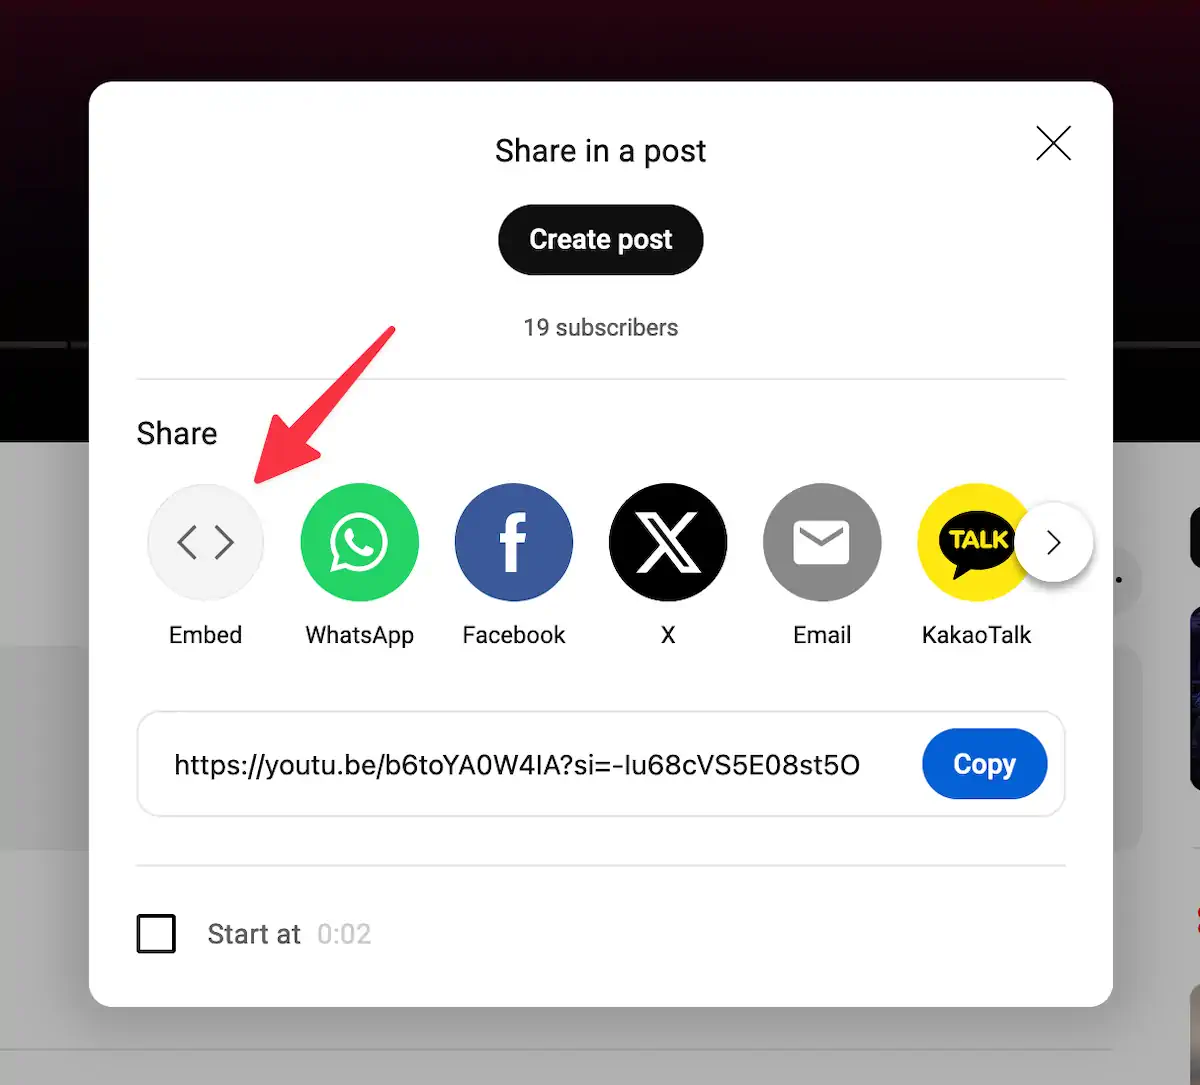
Select “Embed” if it is available. Once you do that, you will see some HTML code and a Copy button. Go ahead and copy the code. You can paste the code after the <h2> tag.
<section>
<h2>Synthwave mixes</h2>
<iframe
width="560"
height="315"
src="https://www.youtube.com/embed/b6toYA0W4IA?si=-Iu68cVS5E08st5O"
title="YouTube video player"
frameborder="0"
allow="accelerometer; autoplay; clipboard-write; encrypted-media; gyroscope; picture-in-picture; web-share"
referrerpolicy="strict-origin-when-cross-origin"
allowfullscreen
></iframe>
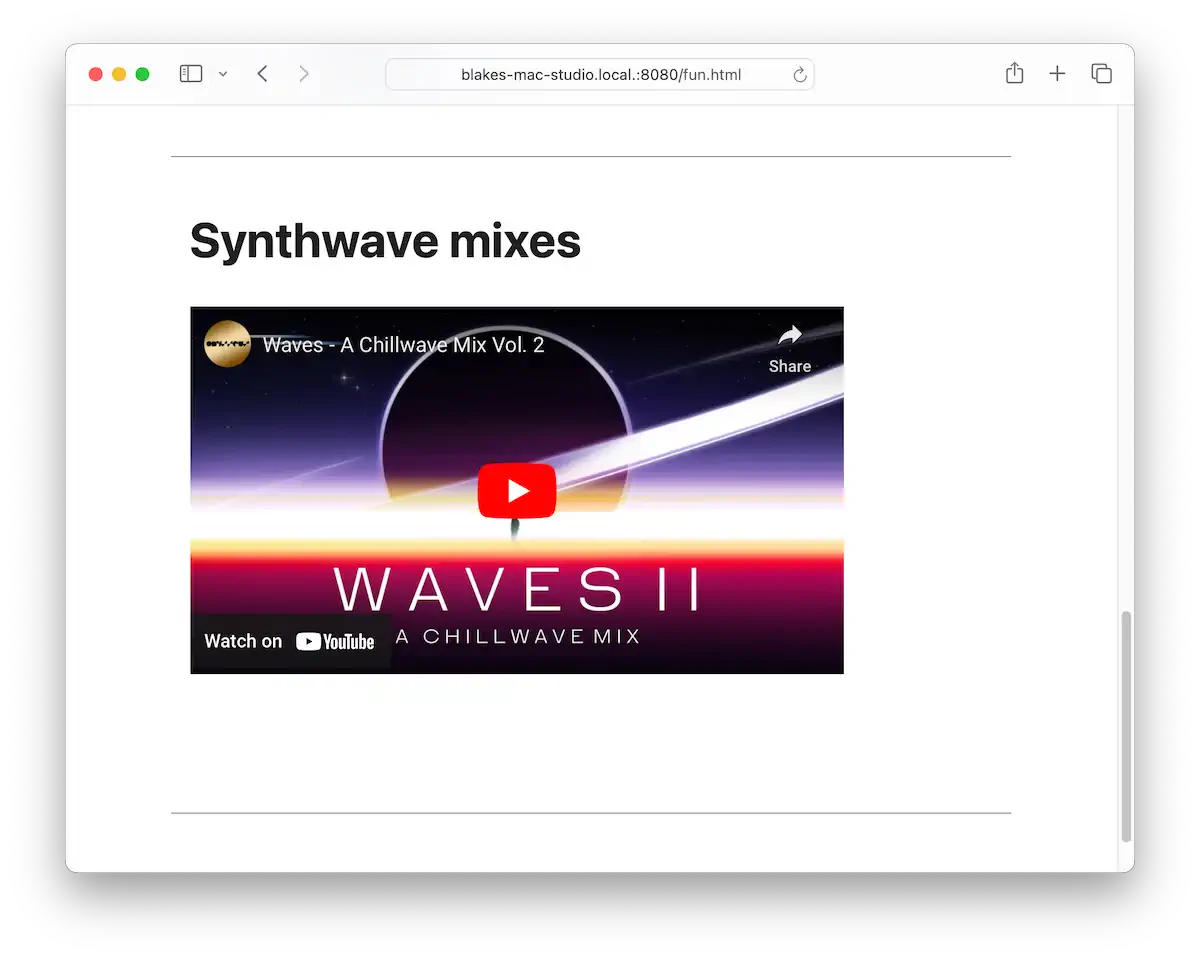
</section>This embed is using the <iframe> tag. I won’t go into great detail about this element, but in short, it is used to display a web page inside another web page. But when I reload the page, I am greeted with this “Video unavailable” error. Why?
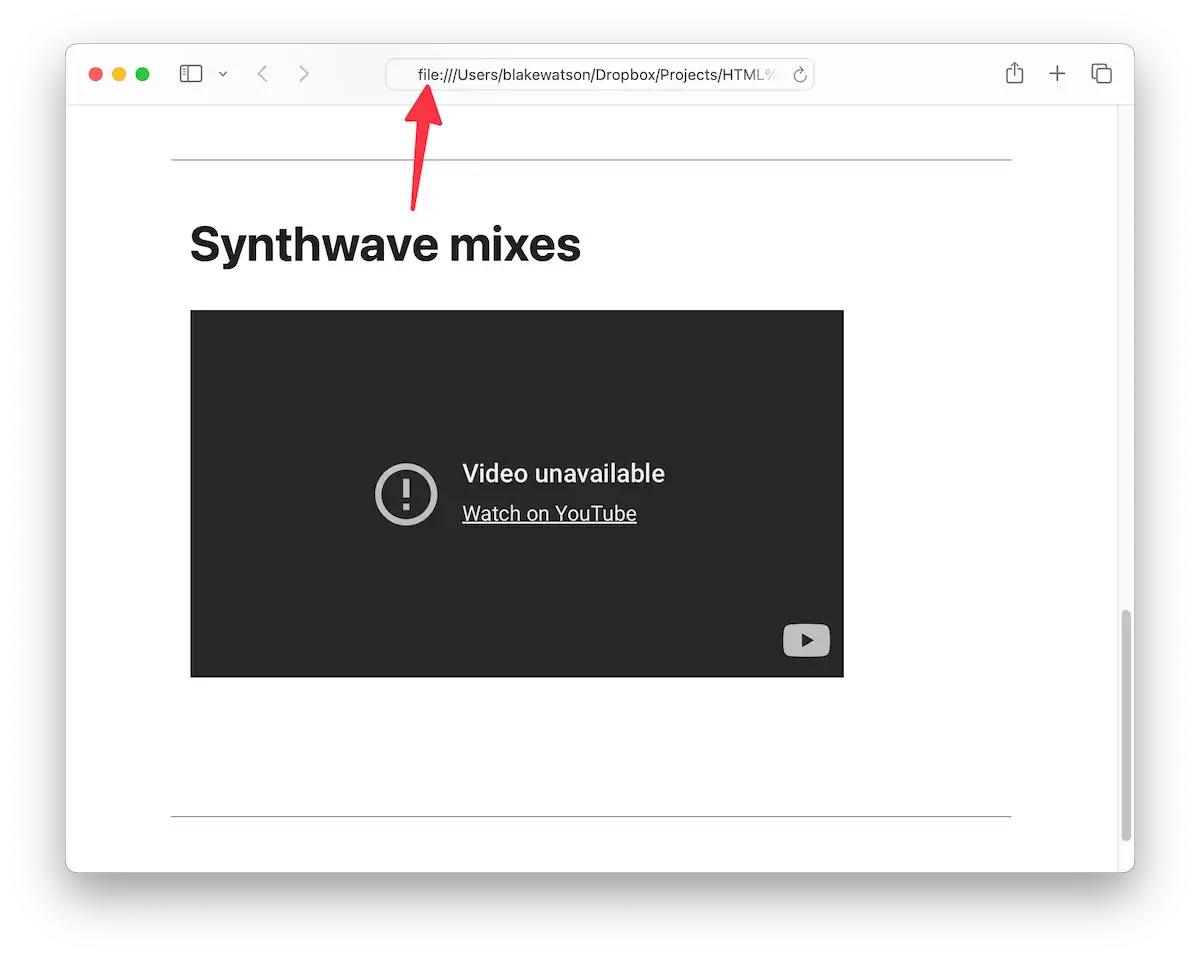
It’s because I still have my website open as a file. We need to fetch data from another website (YouTube), but browser security features prevent us from doing so.
Running our local web server
No worries, though! This is why we installed a local web server in the previous chapter. If you haven’t already done so, start your web server by following whichever method you chose in the previous chapter.
I will use WorldWideWeb for this example. Once I point it to my site folder and click the play button, my server will be running, and I can visit it at the address provided.
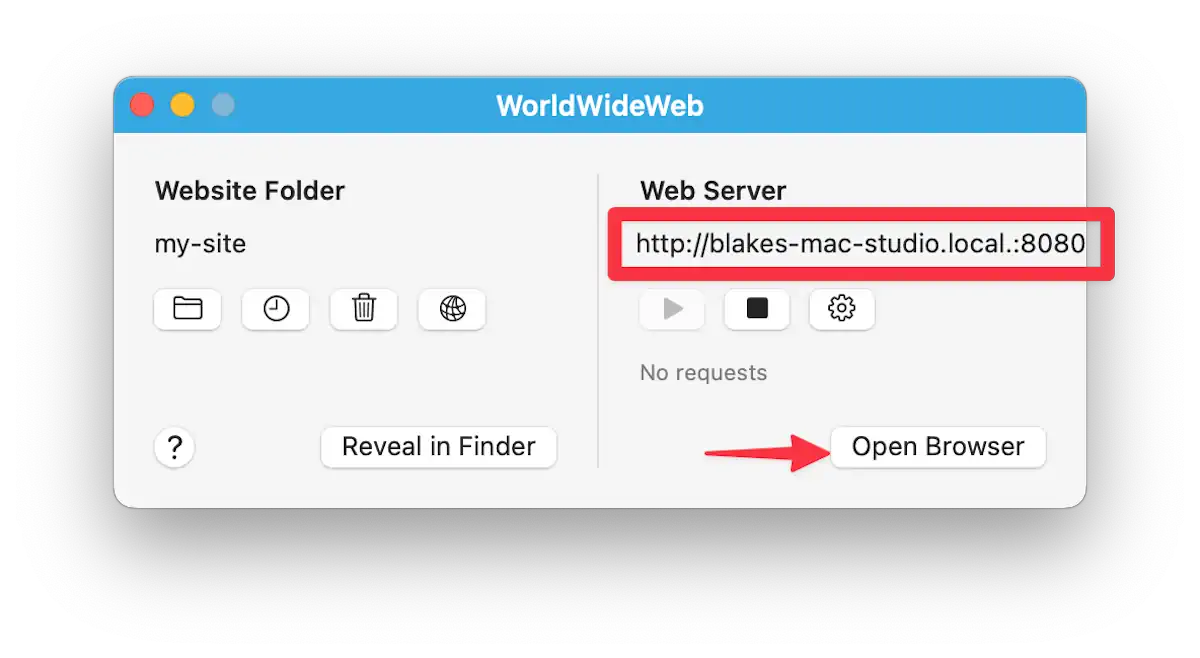
Double-check your browser’s address bar to ensure you access the web server version instead of the direct file.
Awesome! I will go grab two more videos to use.
I will do the same thing for these that I did for the first one. Pull up the video page, click Share, then Embed, and copy the code provided. Paste the code for each video below the first one.
So, I embedded my videos, but now I’m noticing something else. It would be nice if these videos spanned the width of my page. Also, let’s see what our website might look like on a phone.
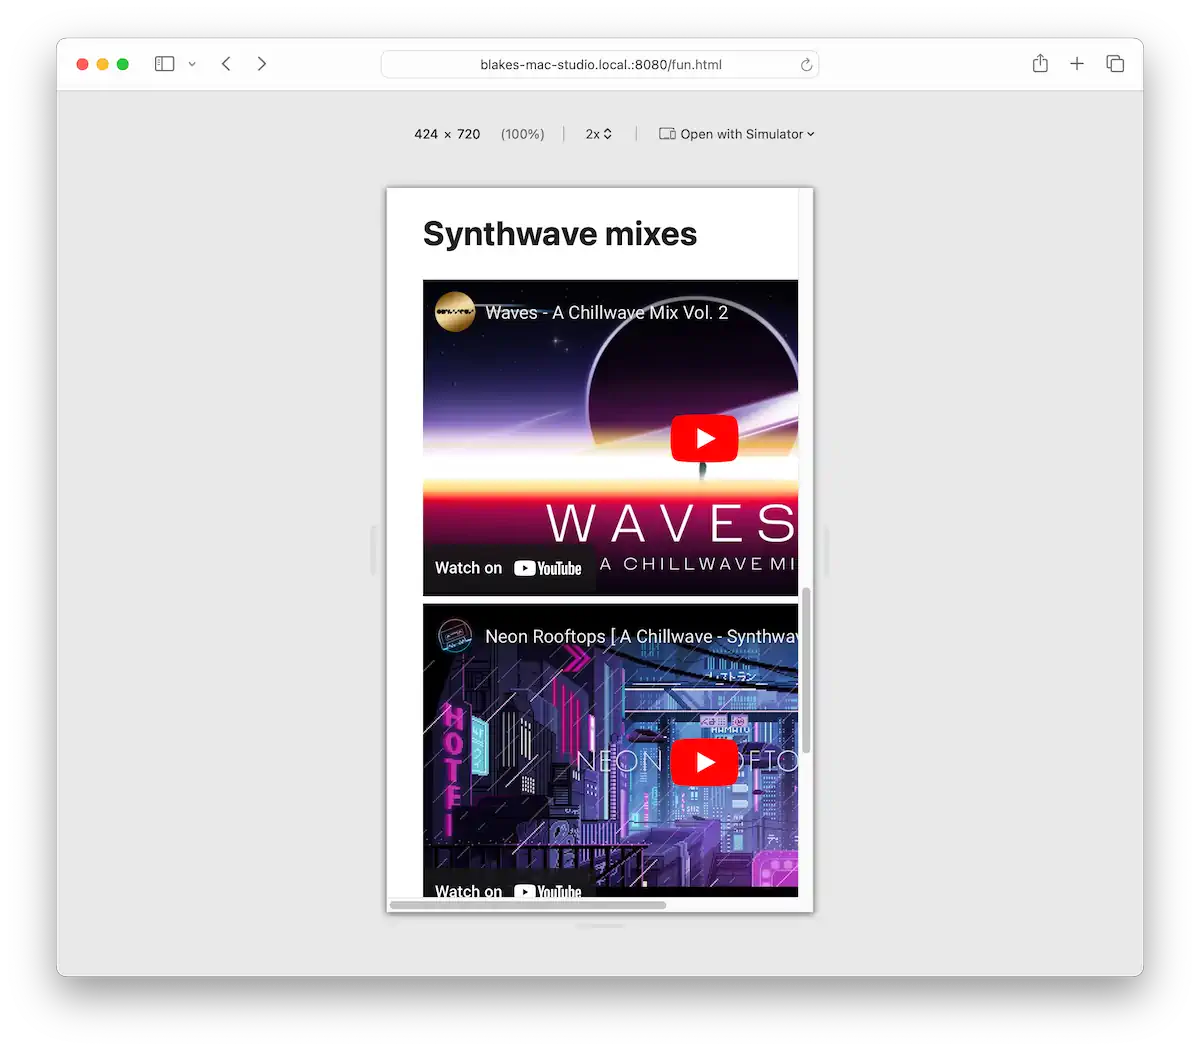
If I view the website using Safari’s responsive design mode and narrow the viewport, I see the embedded videos run right off the right side of the page. Not ideal.
There are multiple ways we could fix this. We’re going to use a third-party solution.
Custom HTML tags
HTML provides a way for us to create our own custom tags. These are called web components. They typically use a mixture of HTML, CSS, and JavaScript to define the look and behavior of the component. Making our own web components is out of the scope of this book, but that’s okay. We don’t need to create one ourselves; we can use web components that other people have made.
We’re going to use Lite YouTube Embed. Feel free to read about what it can do. For our purposes, we just want to install it and have it display a full-width video that scales down properly on phones.
Before we go into how to install this component, let’s look at how we would use it. It provides a new custom tag, <lite-youtube>. You give it an attribute of videoid, which is the ID of the YouTube video. You can find the video’s ID from the URL. This is my URL:
https://www.youtube.com/watch?v=b6toYA0W4IA
                                |_________|
                                 video id
<lite-youtube videoid="b6toYA0W4IA"></lite-youtube>Much cleaner than the <iframe>!
Okay, let’s get this thing installed. We need two files—one JavaScript file and one CSS file. The component developer provides these files, and together, they include all of the code that makes the component look and work properly. I will give you a direct link to both of them. Save the CSS file in your website’s css folder. Then, create a js folder for the JavaScript file.
- JS file: https://cdnjs.cloudflare.com/ajax/libs/lite-youtube-embed/0.3.2/lite-yt-embed.min.js
- CSS file: https://cdnjs.cloudflare.com/ajax/libs/lite-youtube-embed/0.3.2/lite-yt-embed.min.css
Visit each of those and use File > Save Page As… (Ctrl+S on Windows, Command+S on macOS). Once you have the files saved, add them to the page’s <head> section. This is what it should look like.
<head>
  <title>Fun - Blake's Homepage</title>
  <meta charset="utf-8">

  <link rel="stylesheet" href="css/simple.css">
  <link rel="stylesheet" href="css/lite-yt-embed.min.css">
  <script src="js/lite-yt-embed.min.js"></script>
</head>
First, we add the CSS file (the order doesn’t matter). We bring it in the same way we brought in Simple.css, using the <link> tag. We will also bring in the JavaScript code. For that, we use the <script> tag. It takes a src attribute, which is the path to the file.
Once these two files are present, we can use the new component. Back to our example. Let’s say we have this YouTube URL:
https://www.youtube.com/watch?v=b6toYA0W4IA
We need to get the ID from this URL. In a YouTube URL, the ID is the portion that comes after the v=. In this case, it’s b6toYA0W4IA. So we can embed the video using the following syntax.
<lite-youtube videoid="b6toYA0W4IA"></lite-youtube>I will go ahead and do the other two videos this way as well.
<lite-youtube videoid="b6toYA0W4IA"></lite-youtube>
<lite-youtube videoid="rDfS8B2-Mt4"></lite-youtube>
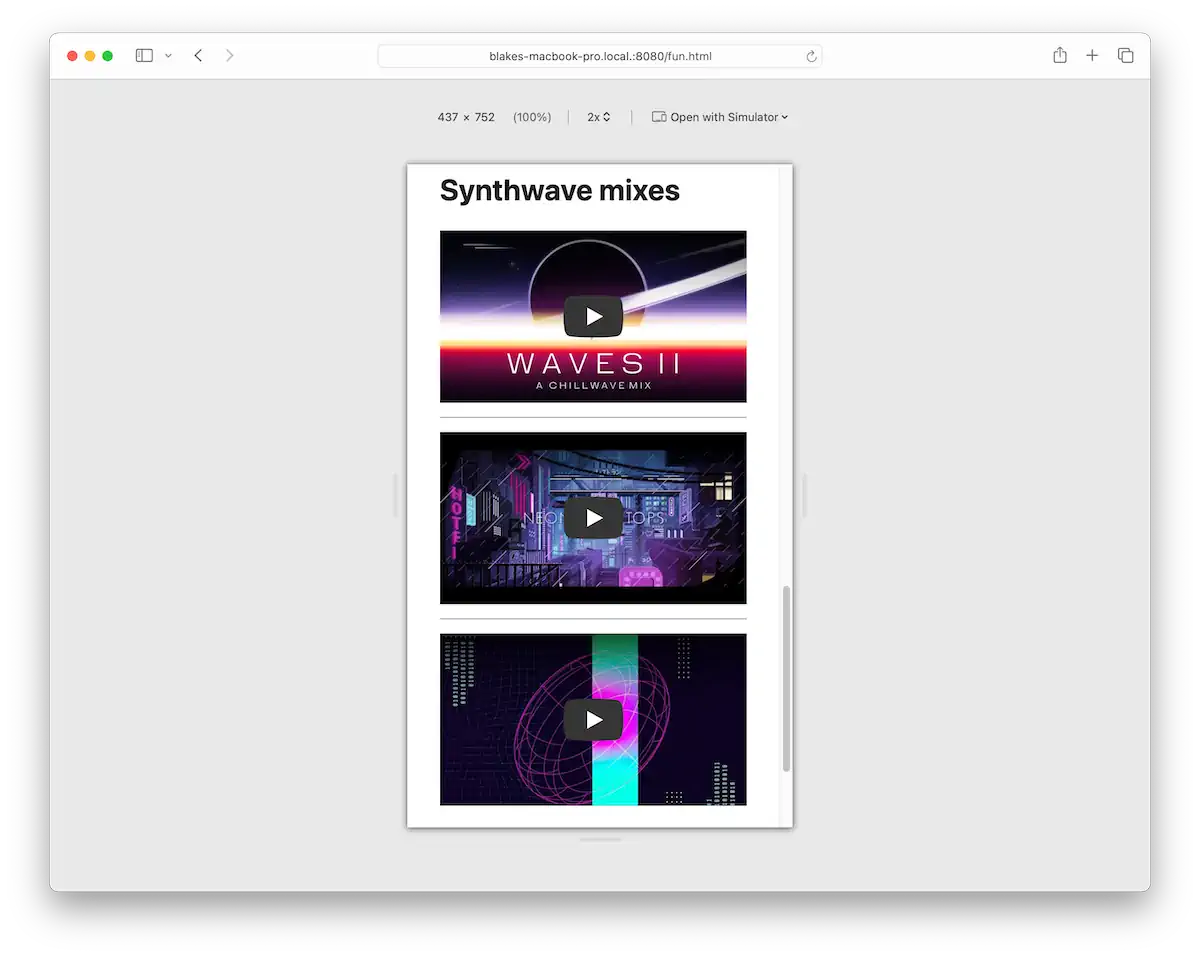
<lite-youtube videoid="yb0DR_qRetA"></lite-youtube>It’s looking good!
I will add some horizontal rules to create some separation between these videos.
<lite-youtube videoid="b6toYA0W4IA"></lite-youtube>
<hr>
<lite-youtube videoid="rDfS8B2-Mt4"></lite-youtube>
<hr>
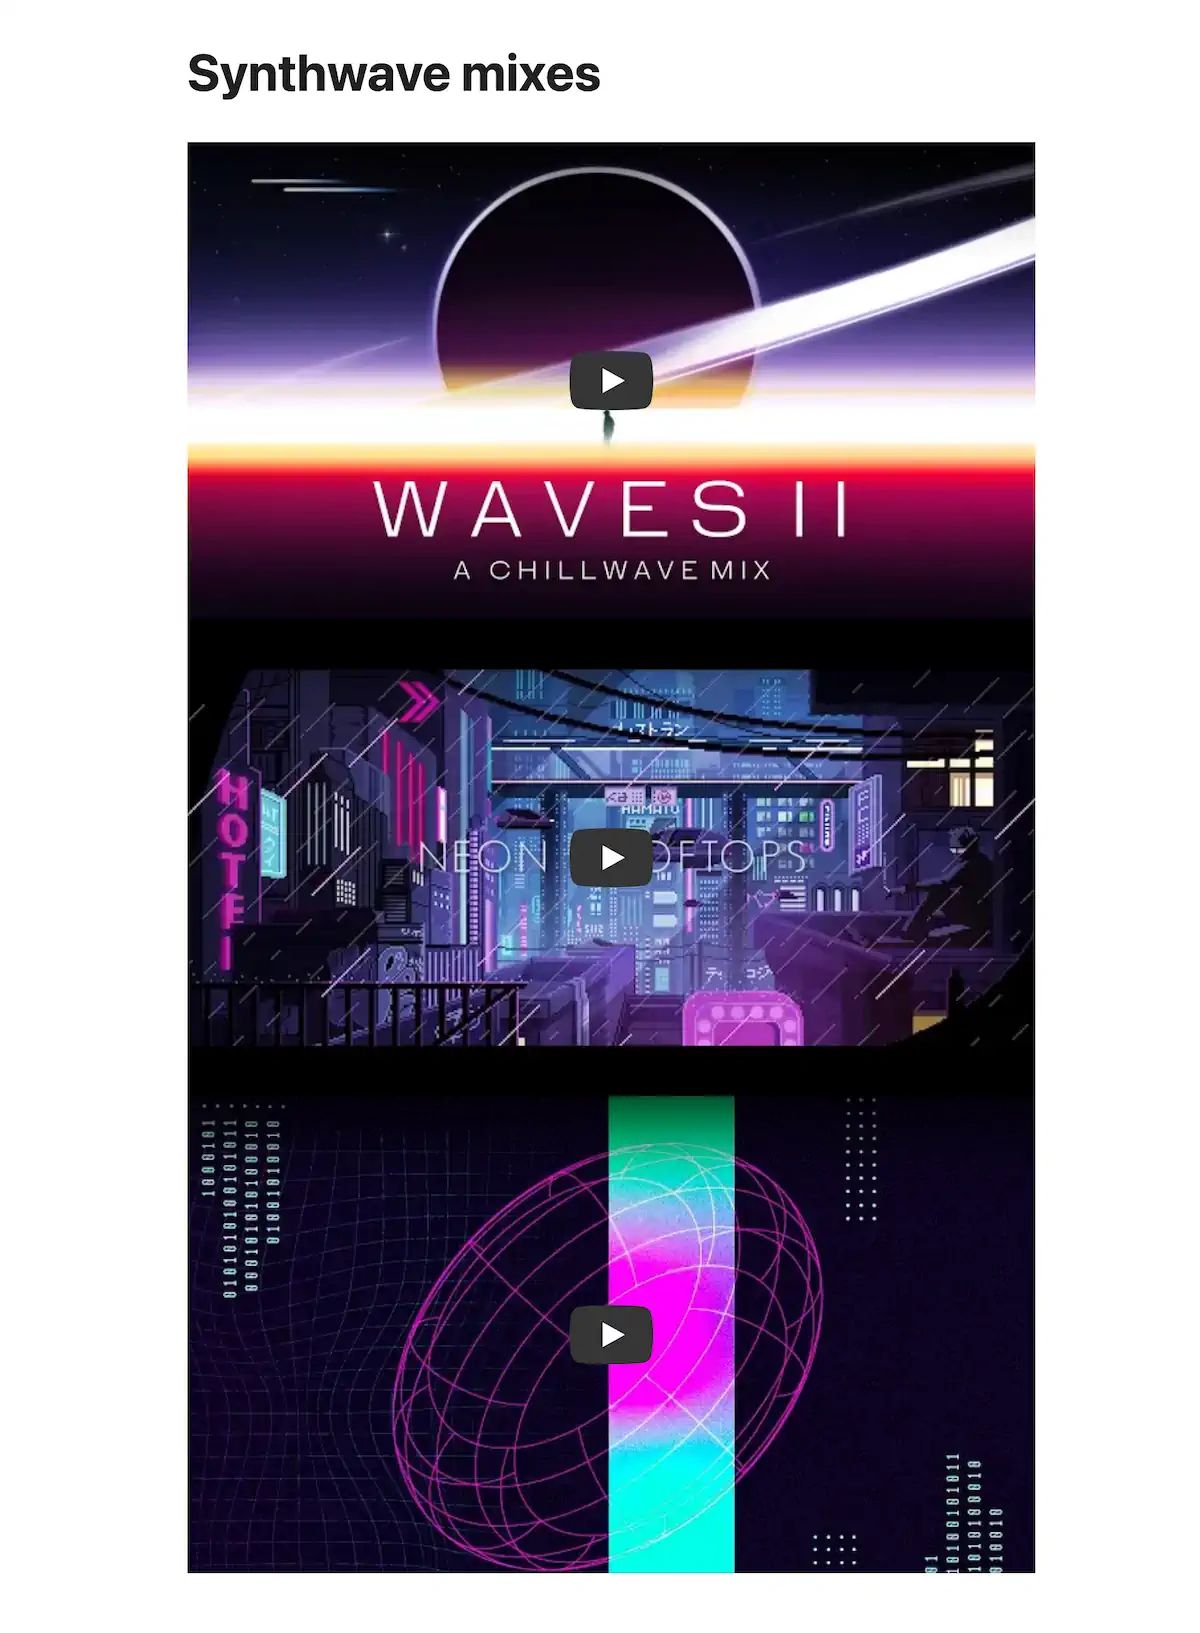
<lite-youtube videoid="yb0DR_qRetA"></lite-youtube>And let’s check out what they look like at mobile size.
Nice!
Full code example
To see this page in action, check out the live demo. Here is the complete code for the Fun! page.
<!doctype html>
<html>
  <head>
    <meta charset="utf-8">
    <title>Fun - Blake's Homepage</title>

    <link rel="stylesheet" href="css/simple.css">
    <link rel="stylesheet" href="css/lite-yt-embed.min.css">
    <script src="js/lite-yt-embed.min.js"></script>
  </head>

  <body>
    <header>
      <nav>
        <a href="index.html">Home</a>
        <a href="blog/index.html">Blog</a>
        <a href="about.html">About</a>
        <a href="resume.html">Resume</a>
        <a href="fun.html" aria-current="page">Fun</a>
      </nav>

      <h1>Fun</h1>
    </header>

    <main>
      <section>
        <h2>Jokes</h2>

        <details>
          <summary>Why wouldn't the skeleton cross the road?</summary>
          <p>It didn't have the guts.</p>
        </details>

        <details>
          <summary>Why was the math book sad?</summary>
          <p>It had too many problems.</p>
        </details>

        <details>
          <summary>Why don't scientists trust atoms?</summary>
          <p>Because they make up everything!</p>
        </details>
      </section>

      <section>
        <h2>D&D stuff</h2>

        <p>
          Dungeons & Dragons (D&D) is a fun tabletop game where you create characters and go on epic adventures with friends. Guided by a Dungeon Master (DM), you'll roll dice to see what happens next. It's all about creativity, teamwork, and having a blast as you tackle quests, fight monsters, and find awesome treasures.
        </p>

        <h3>Random encounter table</h3>

        <p>
          This is a table you can use to randomly decide what enemy or creature the players are going to encounter. Just roll a d8.
        </p>

        <table>
          <thead>
            <tr>
              <th>Roll (1d8)</th>
              <th>Encounter</th>
            </tr>
          </thead>
          <tbody>
            <tr>
              <td>1</td>
              <td>Band of Goblins</td>
            </tr>
            <tr>
              <td>2</td>
              <td>Wandering Merchant</td>
            </tr>
            <tr>
              <td>3</td>
              <td>Group of Bandits</td>
            </tr>
            <tr>
              <td>4</td>
              <td>Pack of Wolves</td>
            </tr>
            <tr>
              <td>5</td>
              <td>Travelling Minstrels</td>
            </tr>
            <tr>
              <td>6</td>
              <td>Lost Child</td>
            </tr>
            <tr>
              <td>7</td>
              <td>Hidden Trap</td>
            </tr>
            <tr>
              <td>8</td>
              <td>Old Hermit</td>
            </tr>
          </tbody>
        </table>
      </section>

      <section>
        <h2>Synthwave mixes</h2>

        <lite-youtube videoid="b6toYA0W4IA"></lite-youtube>
        <hr>
        <lite-youtube videoid="rDfS8B2-Mt4"></lite-youtube>
        <hr>
        <lite-youtube videoid="yb0DR_qRetA"></lite-youtube>
      </section>
    </main>

    <footer>
      <p>Made with ❤️ and ☕️ by Blake Watson.</p>
    </footer>
  </body>
</html>
Publish the site
You did it! With this page completed, you’ve finished the main web book. Following the same steps as in previous chapters, update your Neocities site with this new page. Remember to update your nav menu on all your other pages.
Up next
Next, we’ll revel in our accomplishments, and I’ll point you toward more learning resources, including the bonus chapters on this site.