Zero to internet: your first website
You, my friend, are about to go from zero to internet by putting your very first homemade page on the web.
I will let you in on a little secret—websites are just files with text. They don’t require fancy, expensive software to create. You can make a website with the free text-editing tools that come with your computer. In fact, that’s what we’ll do right now.
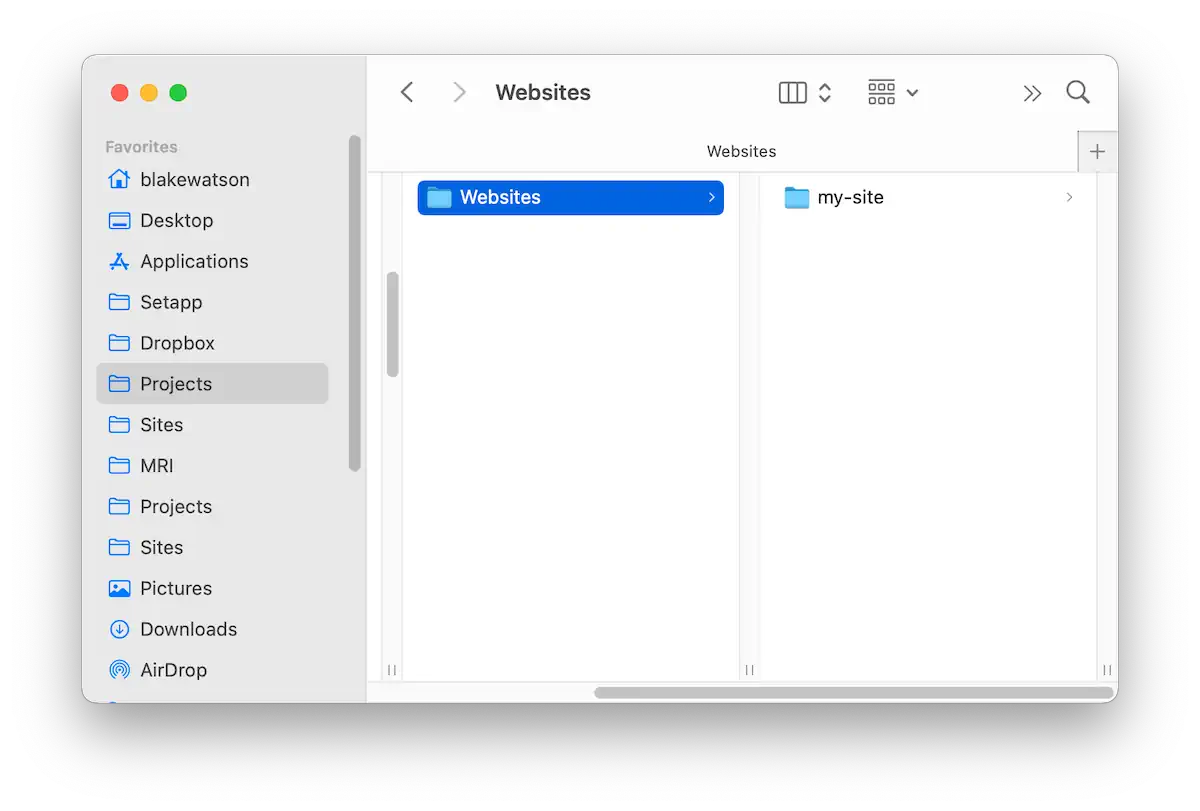
Step 1. Create a folder on your computer
Pick a location on your computer and create a folder. Call it my-site or something similar. It’s best to name your website folders and files with lowercase letters, numbers, dashes, and underscores. Avoid spaces in filenames. This ensures your files will be compatible with many different computers and servers.
Step 2. Create index.html
By convention, a website’s homepage is index.html. You may have other pages (like about-me.html or anything else you want), but we’ll get there later.
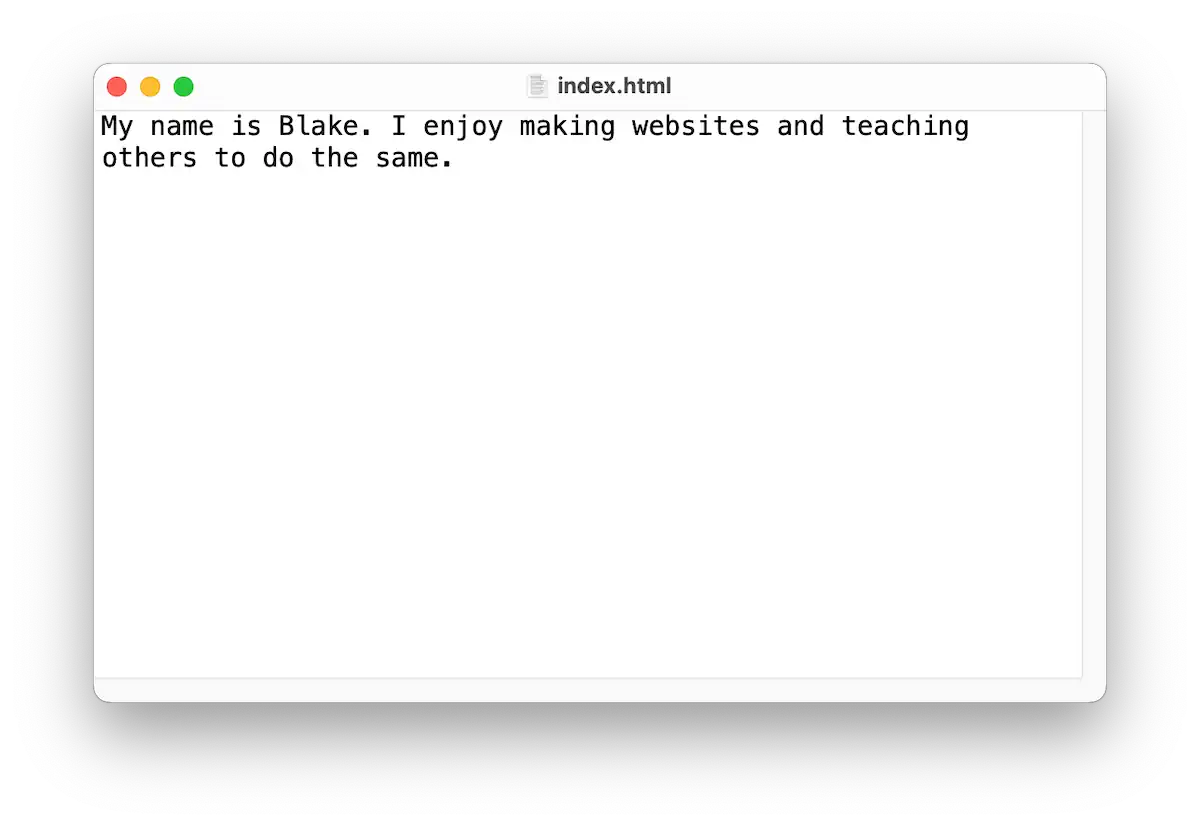
To create index.html, open TextEdit on a Mac or Notepad on Windows.
Write a sentence or two about yourself. Here’s mine, for example:
My name is Blake. I enjoy making websites and teaching others to do the same.Now save this file. Name it index.html and put it in the my-site folder you created in step 1.
Step 3. Preview your website
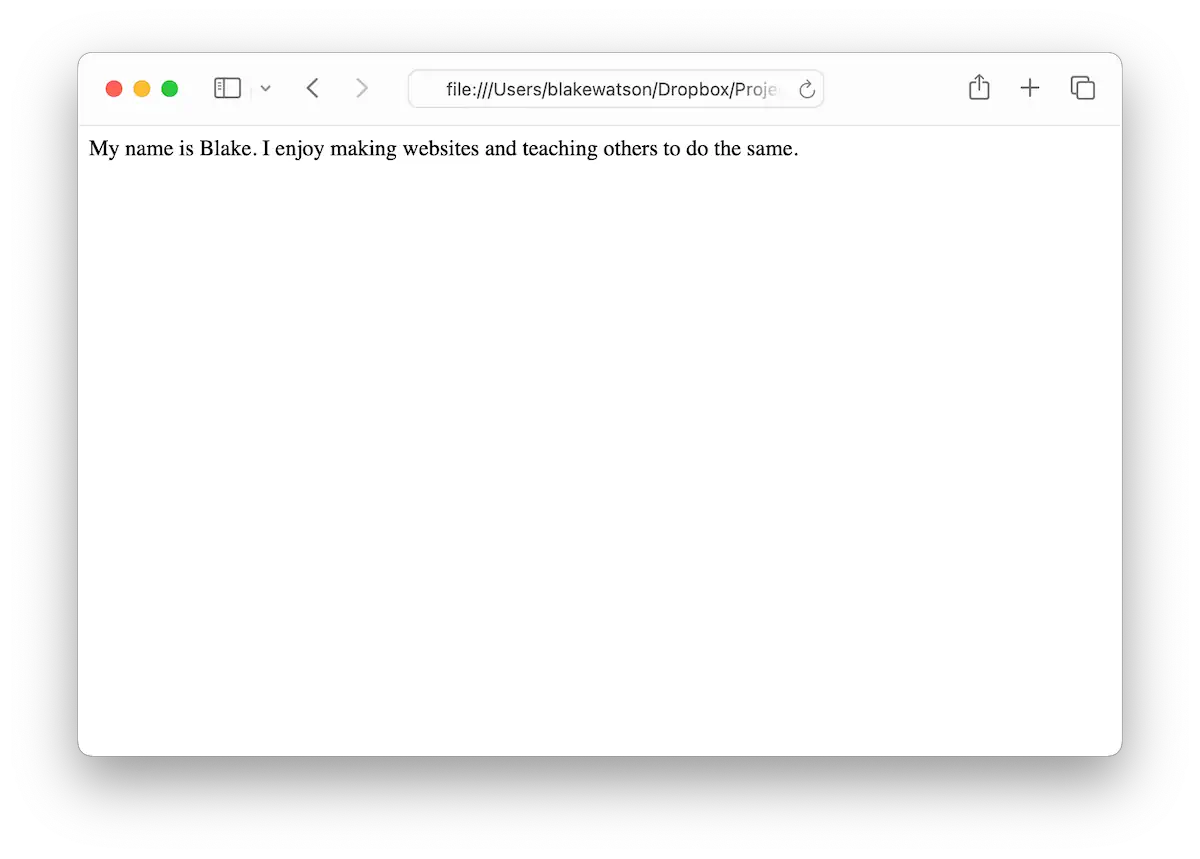
You can open your website by double-clicking index.html. It should open in your default browser. Alternatively, you can launch your browser first, click File > Open File…, then navigate to your index.html file.
You should see your (admittedly plain) website in your browser! Feel free to adjust your text and fix any typos because we’re about to publish this page to the world.
Don’t worry about how it looks. We’ll fix that later.
Step 4. Publish your website
There are many options for publishing your website. For our purposes, we need something free, easy, and geared toward individuals instead of businesses. Fortunately, we get just that with Neocities.
Head over to Neocities and create an account. It’s free. You’ll also need to choose a username/sitename. Your website will ultimately be on a subdomain at YOURNAME.neocities.org. I suggest using your real name or an online username if you have one. Or, if you know what you want your page to be about, you could choose something befitting the topic (for example, dndfanpage).
Once you’ve created your account, go to your site’s dashboard. You’ll see that you have some starting files there. You can ignore them for now. To publish the page you just made on your computer, drag index.html from your computer onto your Neocities dashboard. That will replace the index.html that’s already there.
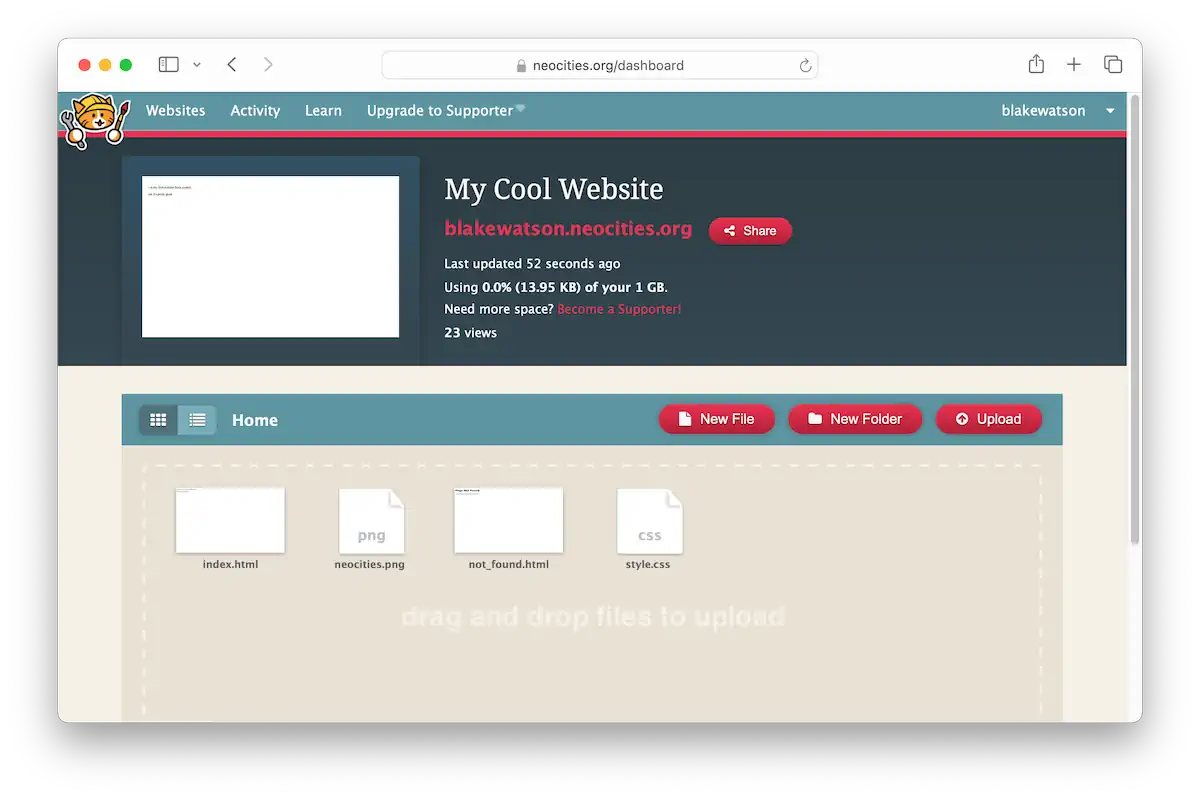
Once you’ve done that, click the link to your site at the top of the dashboard.
Congratulations, you just made a website! 🎉
Up next
In the next chapter, we’ll add more content to our website and learn about a handful of HTML tags.